


0
items
$0
DIY Materials, Activity Resources & Gallery
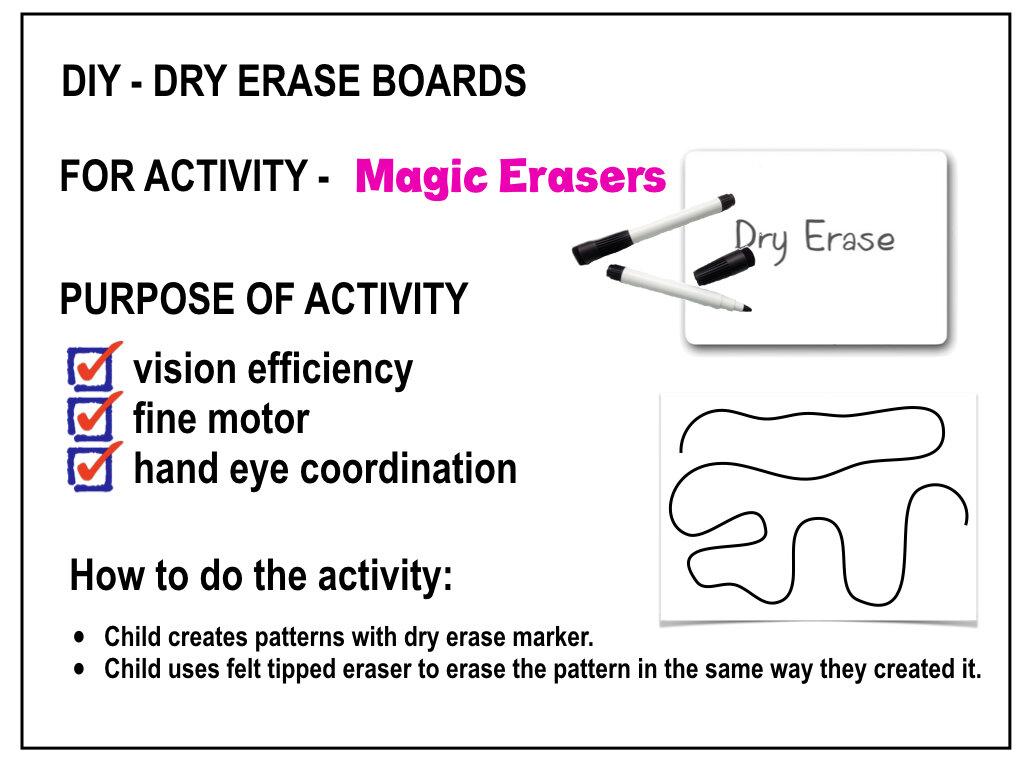
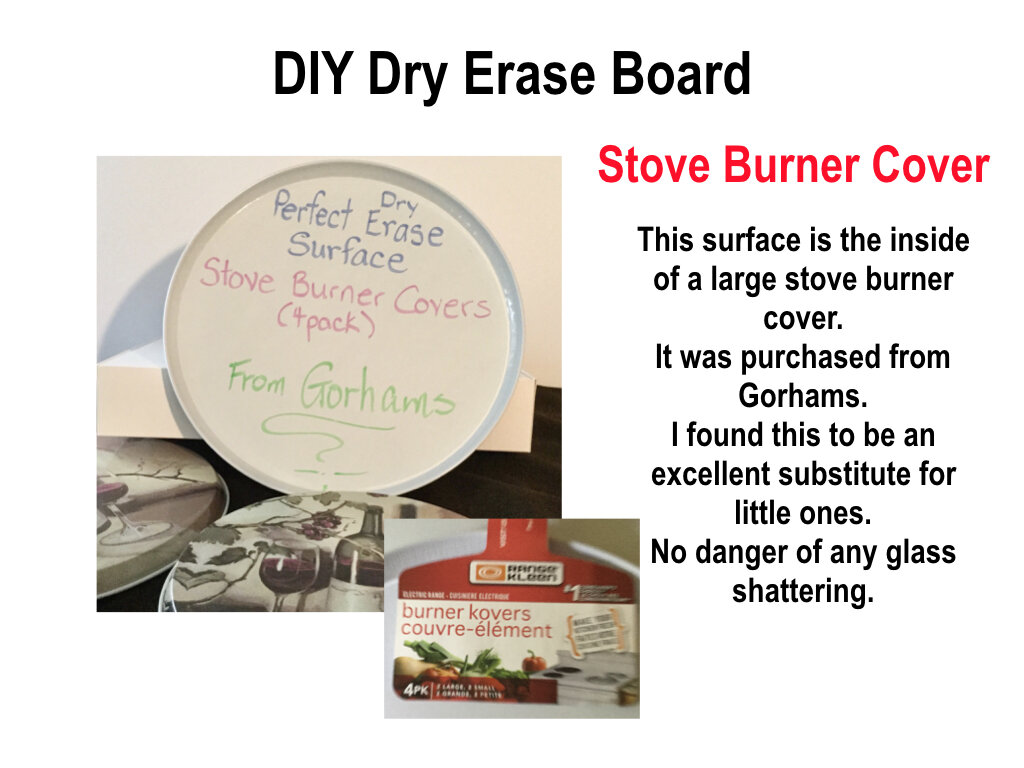
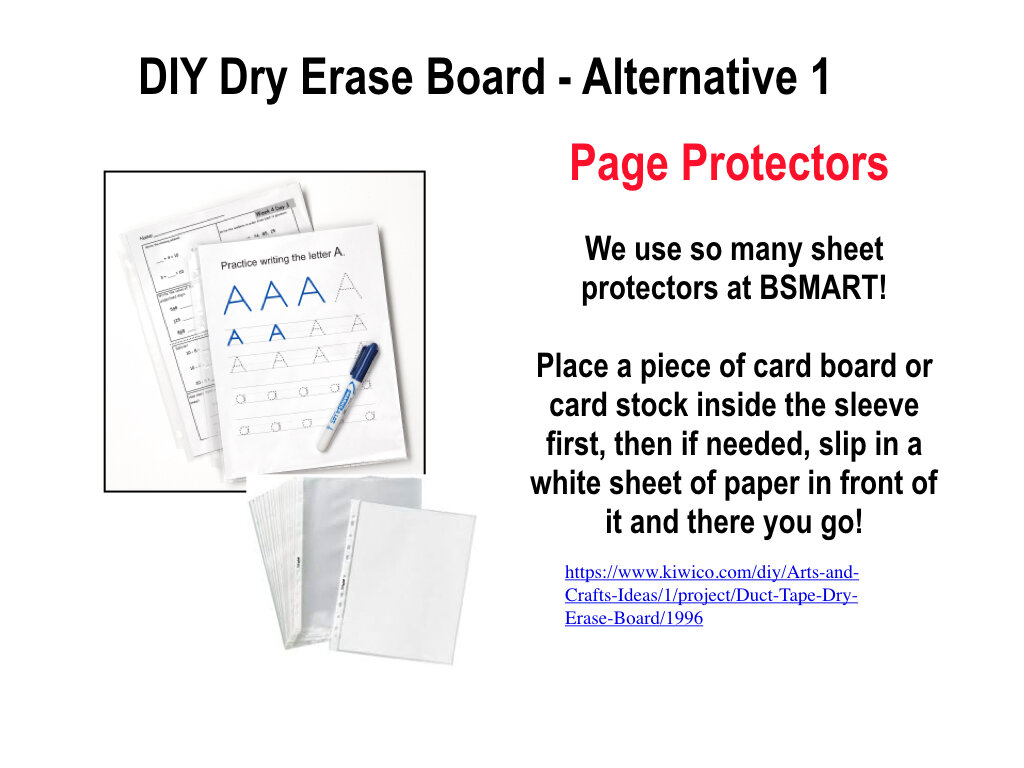
DIY - Dry Erase Boards
Click image above for pdf
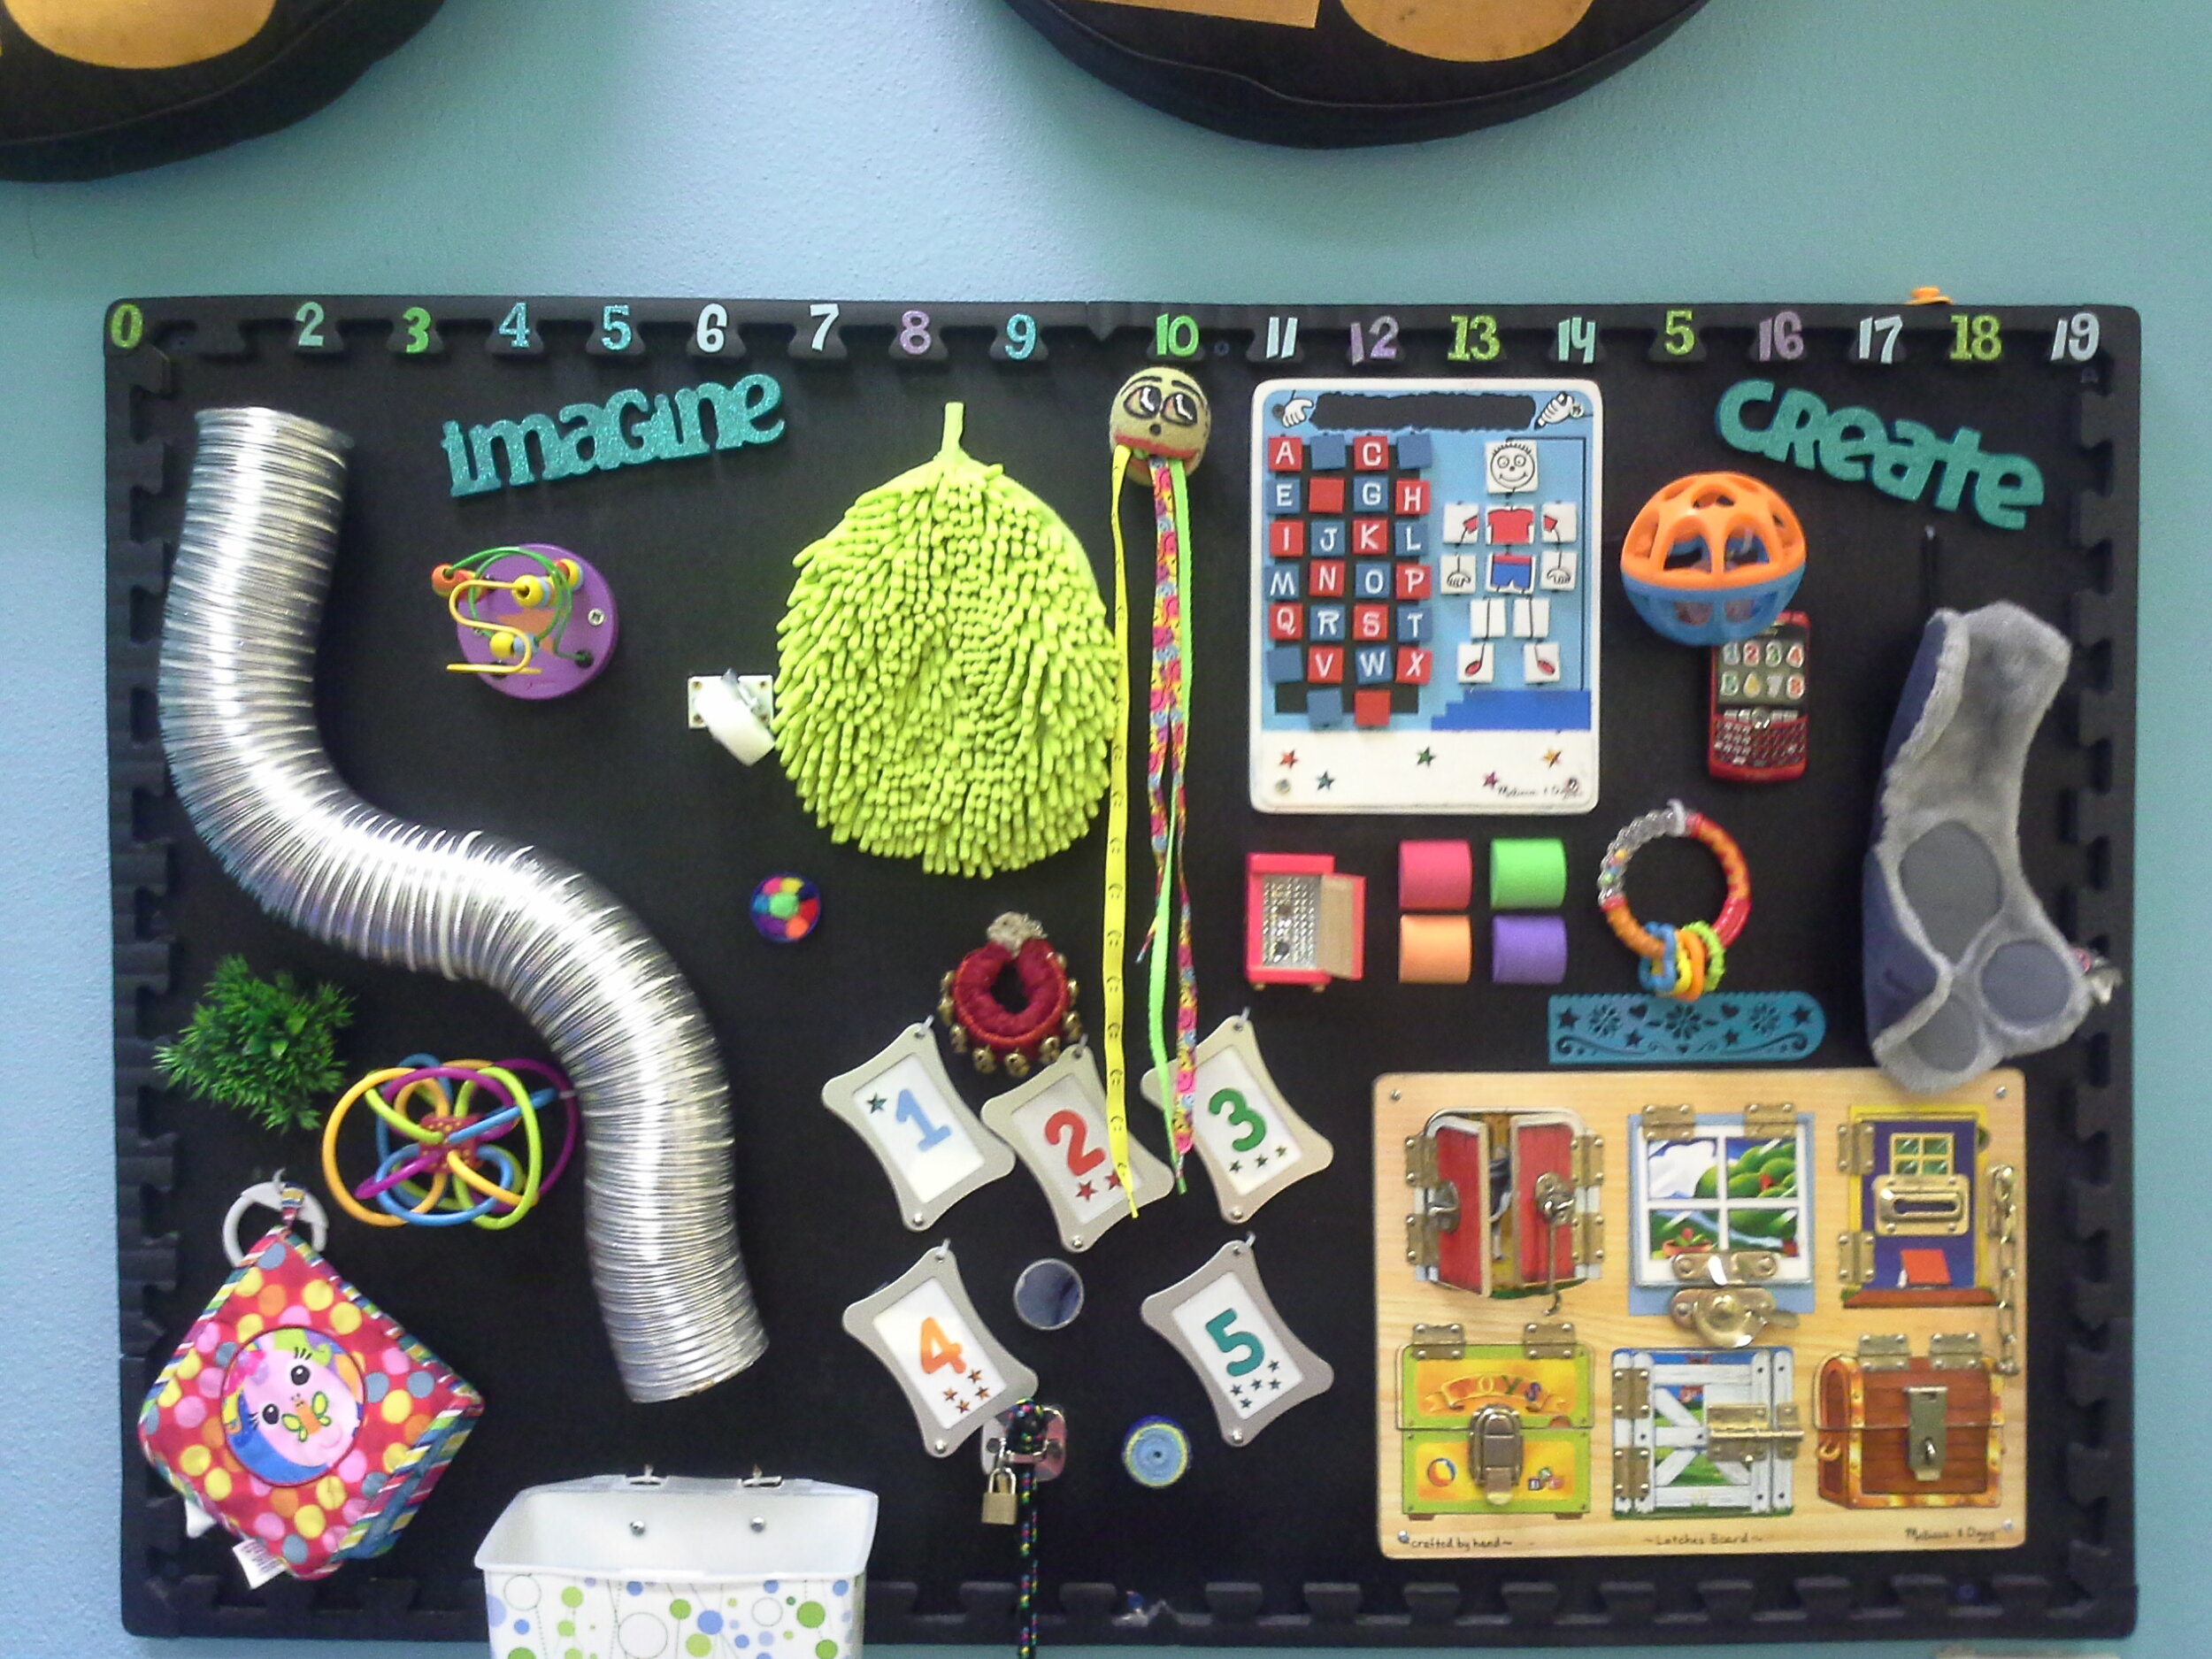
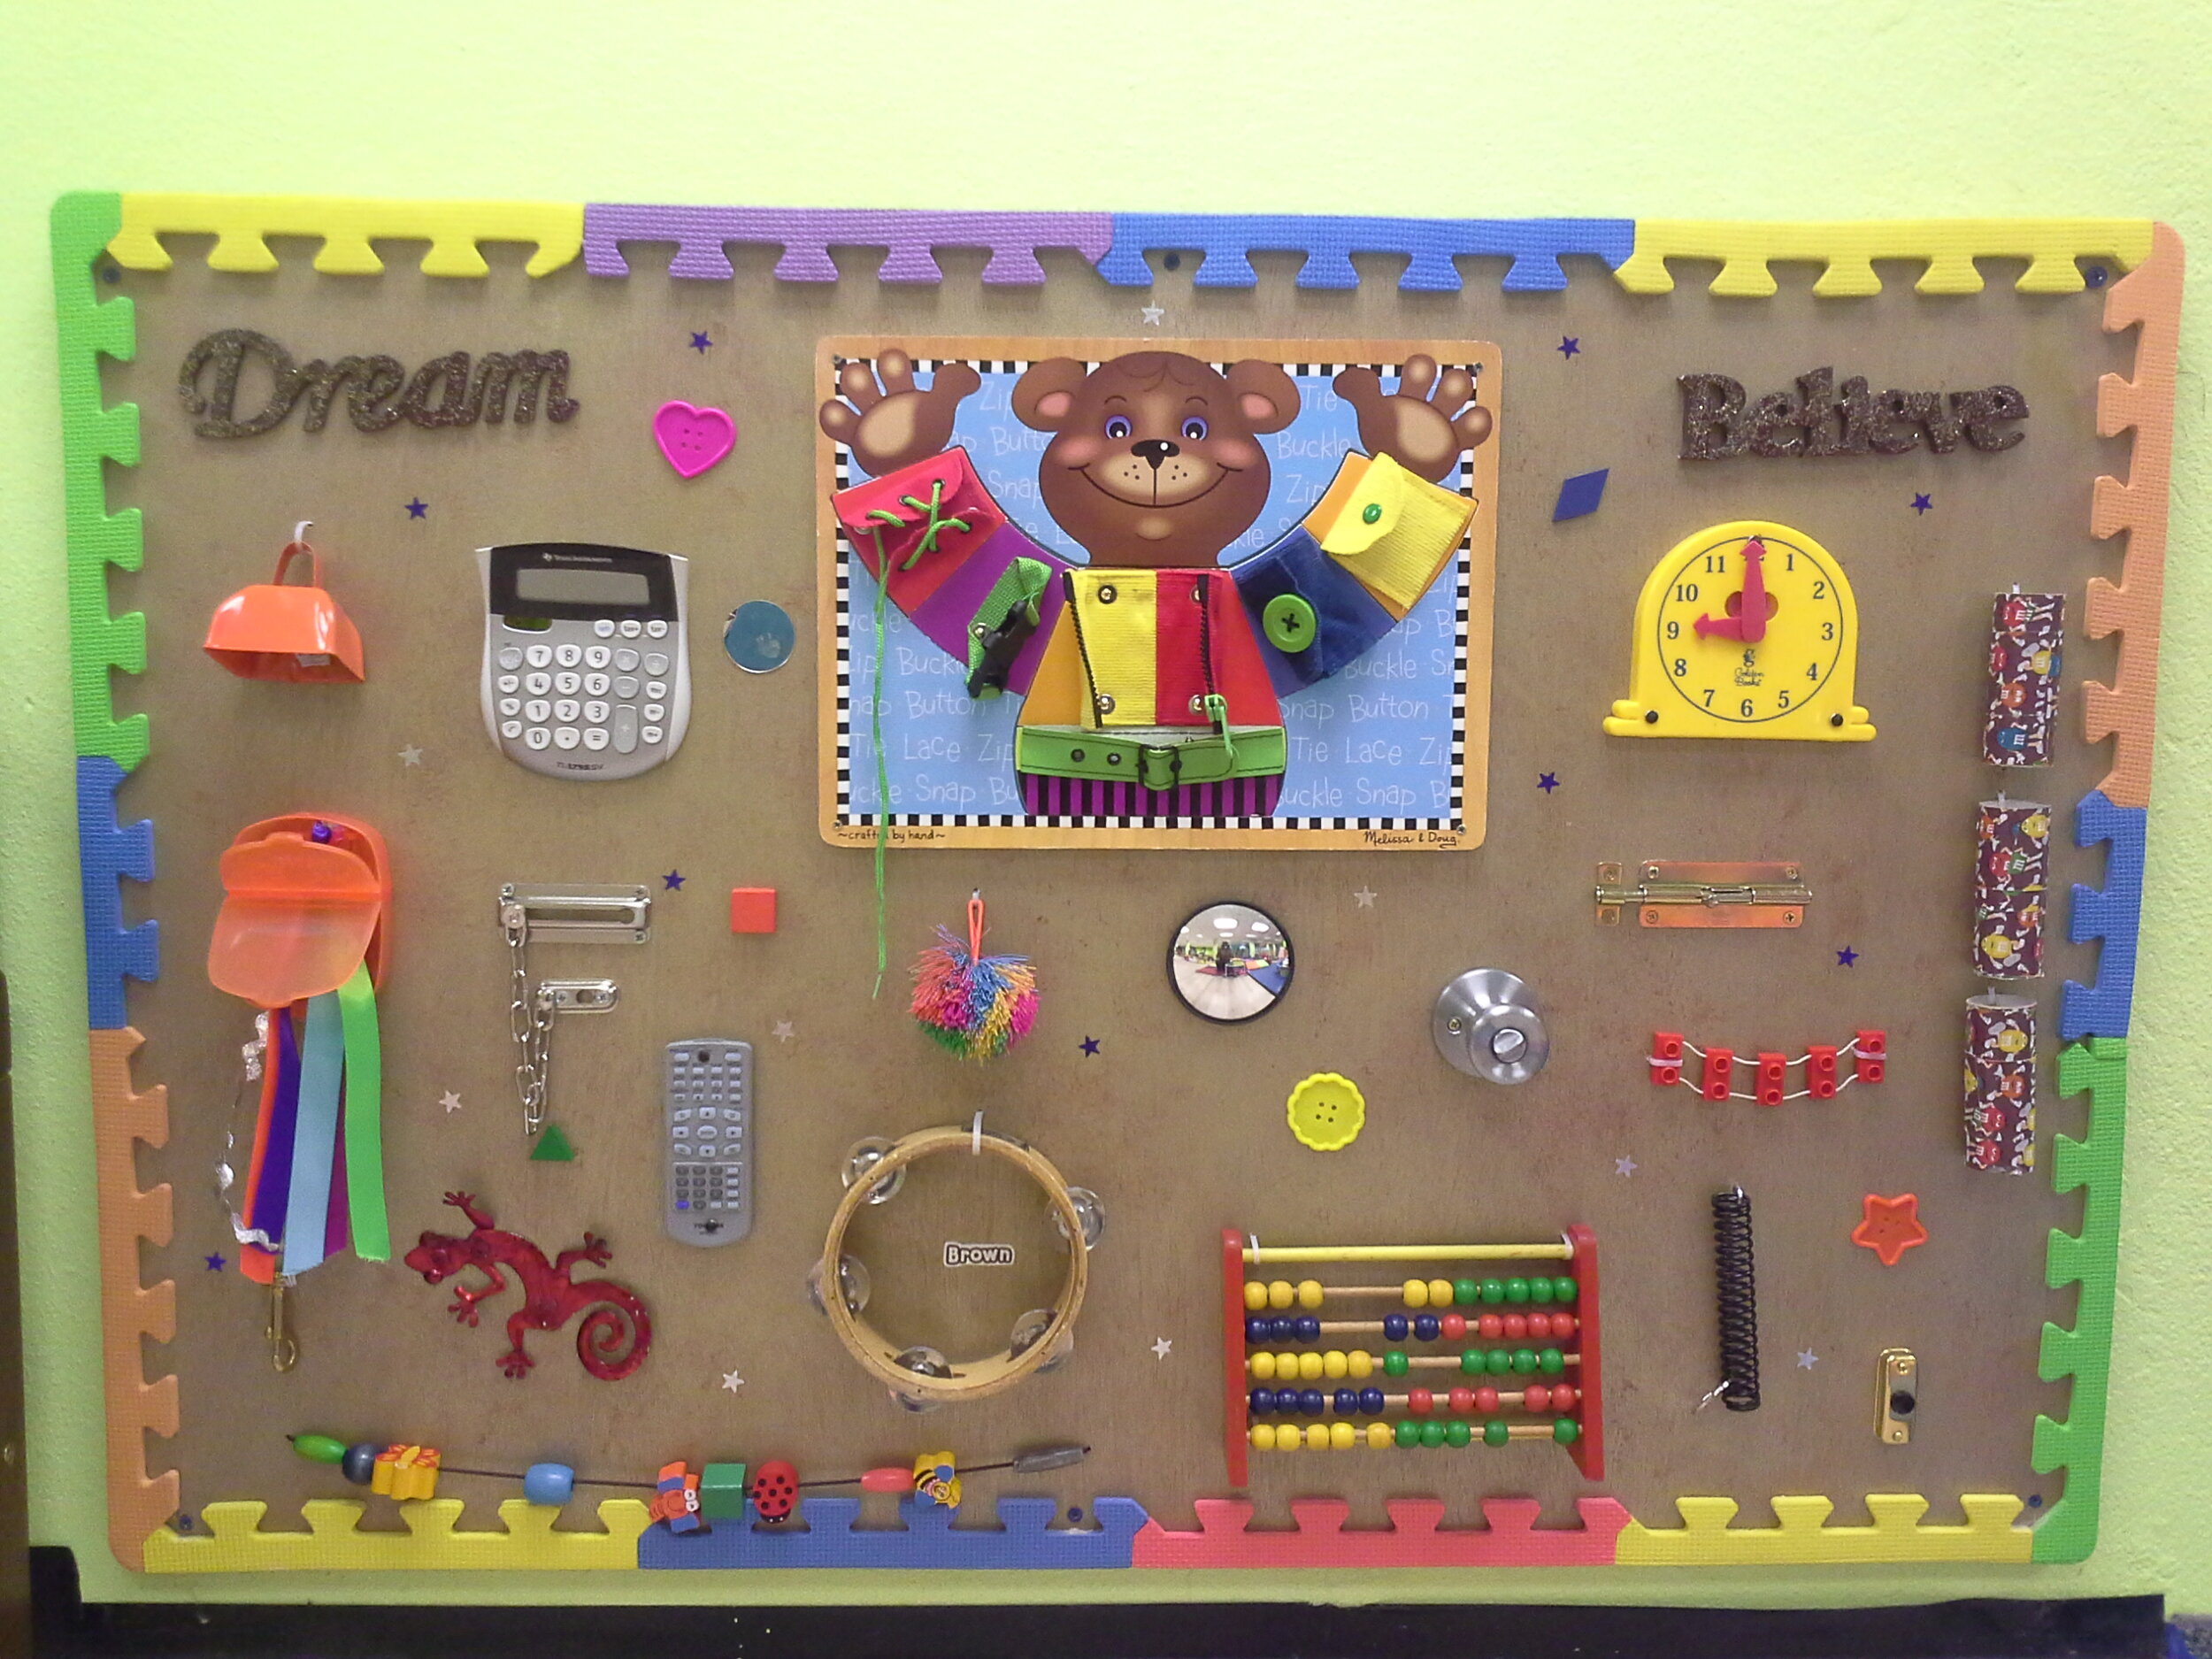
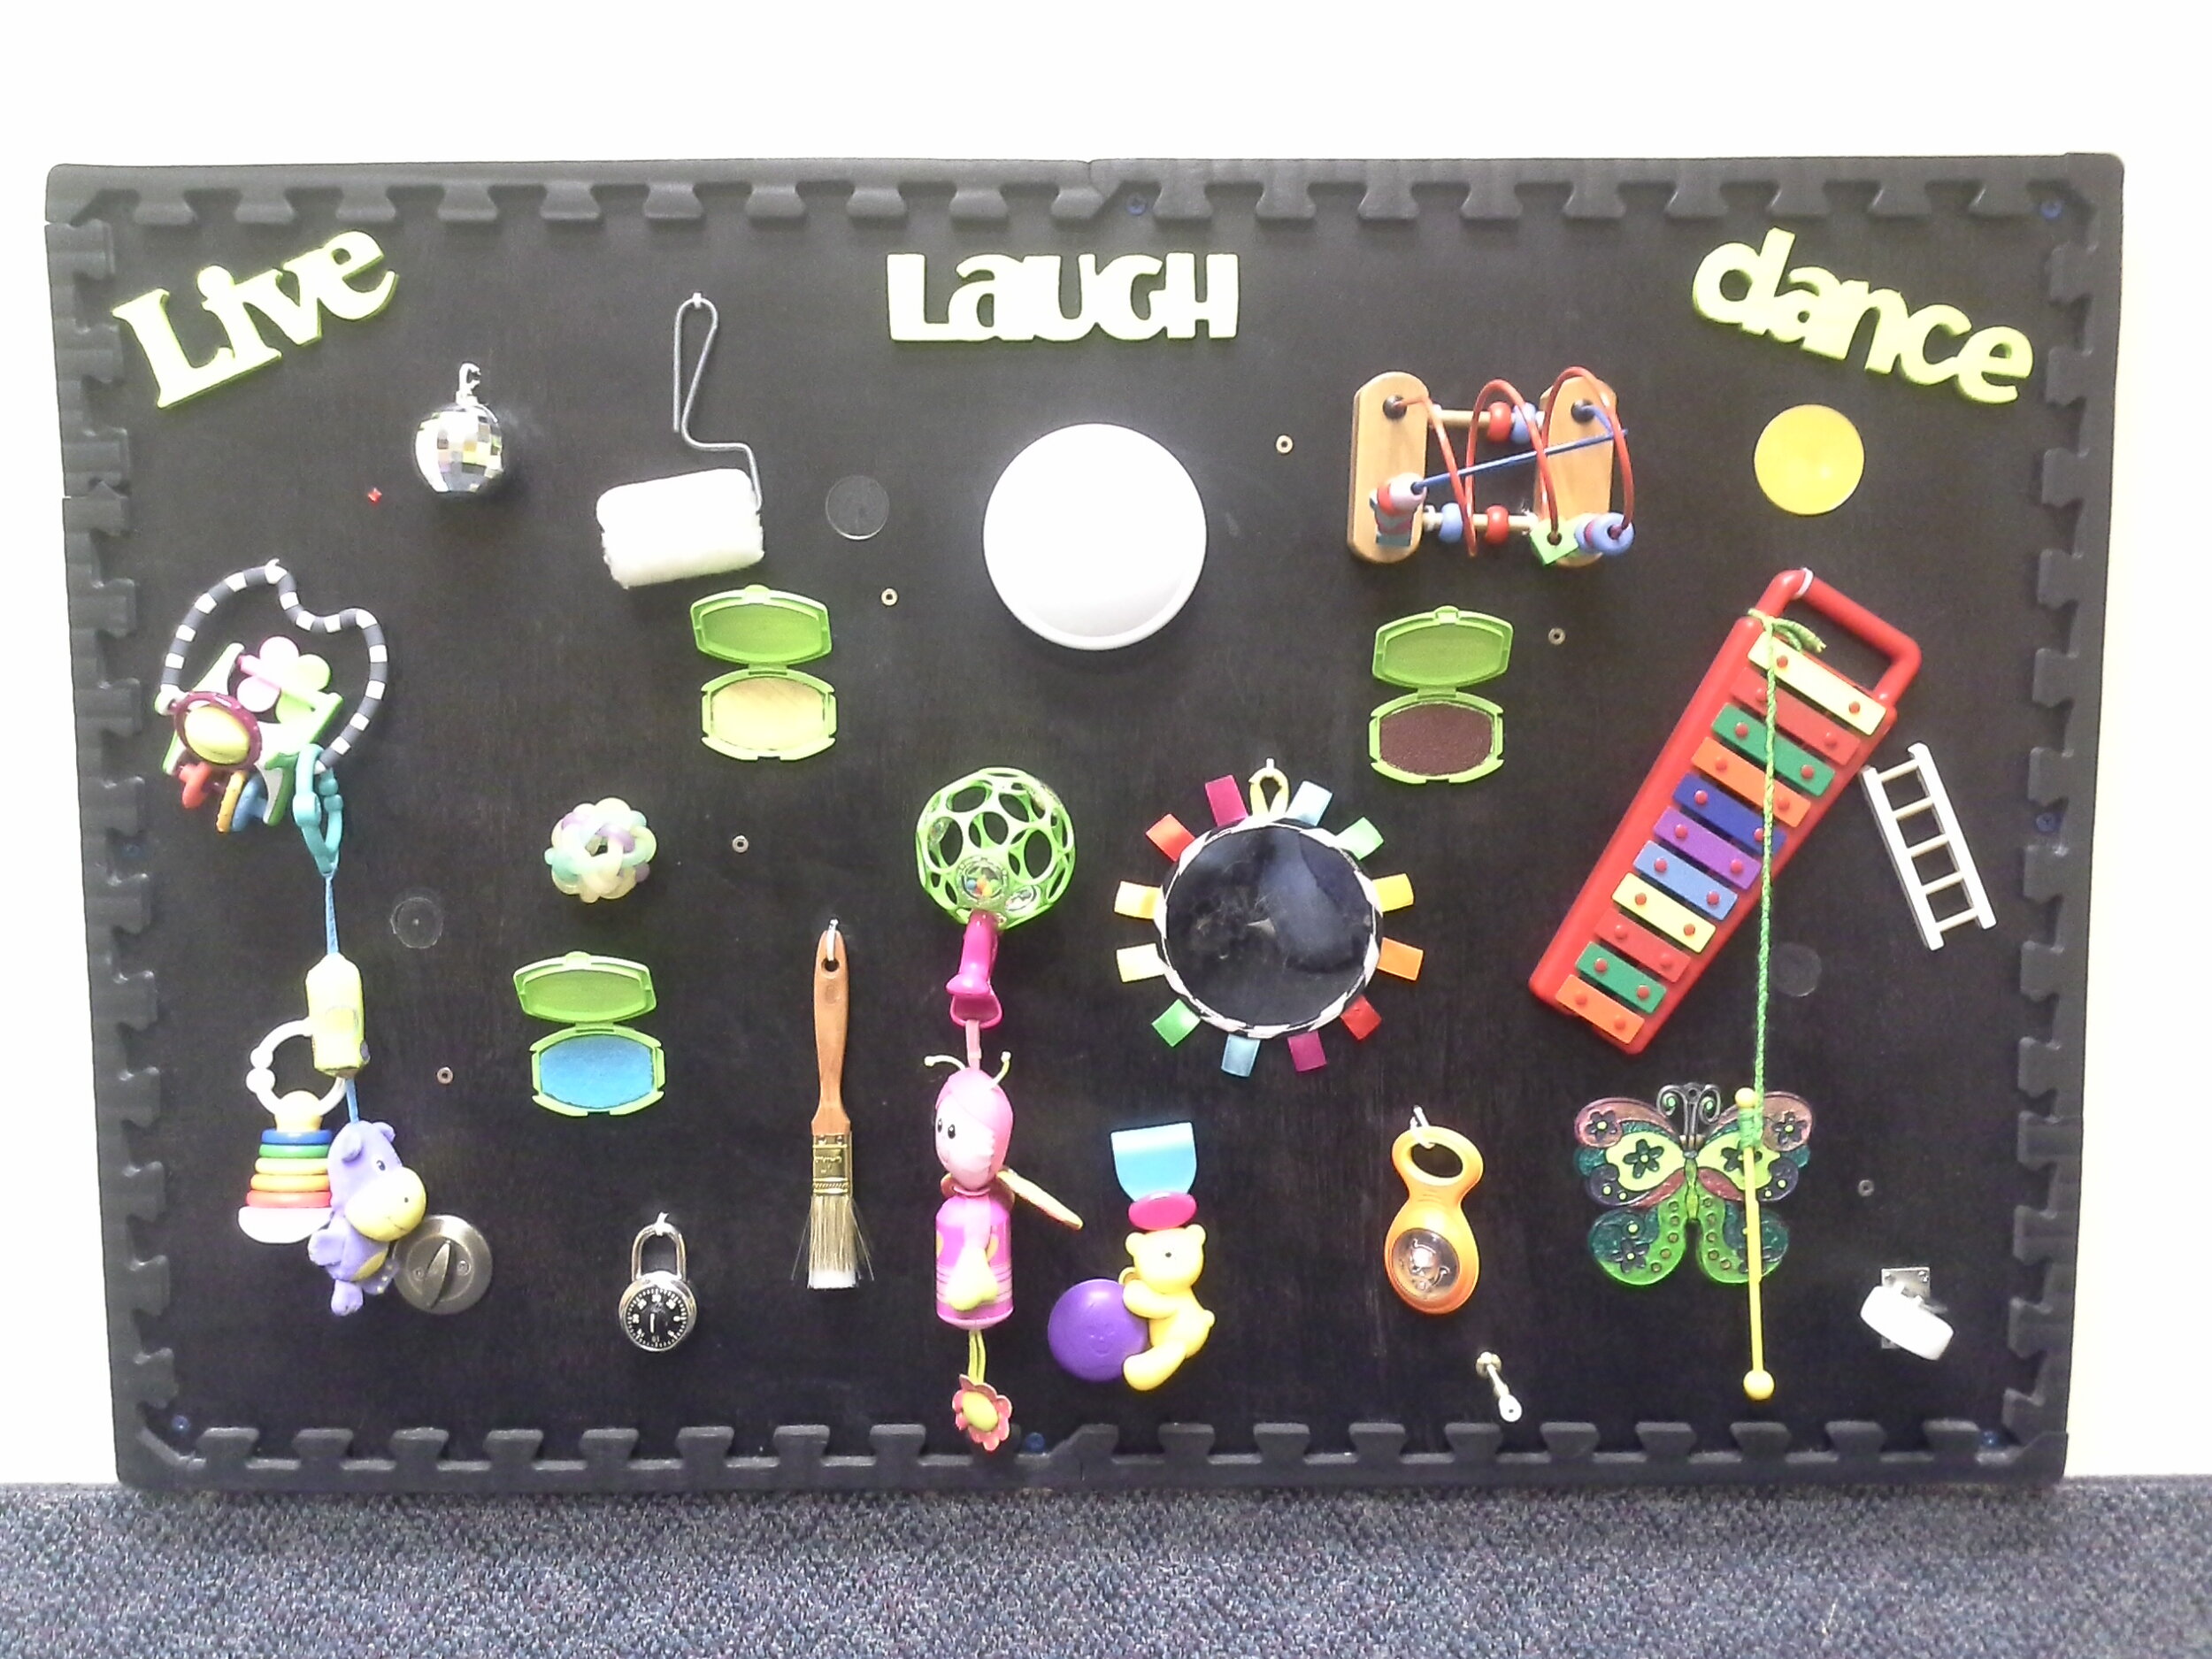
DIY - Busy/Sensory Boards
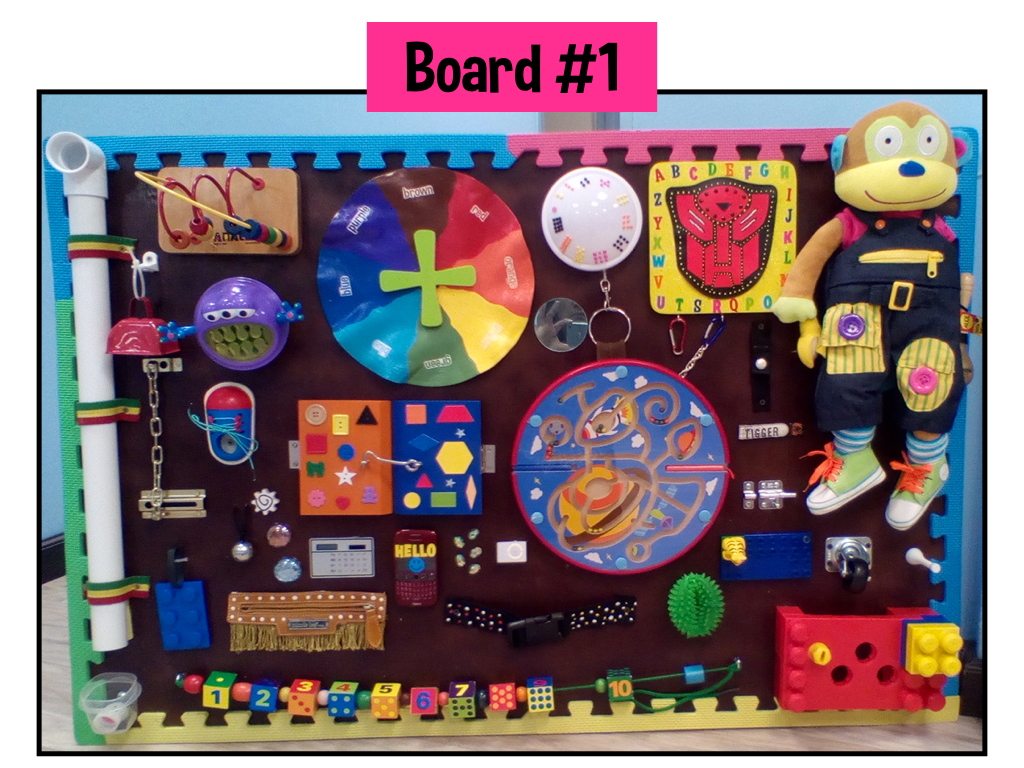
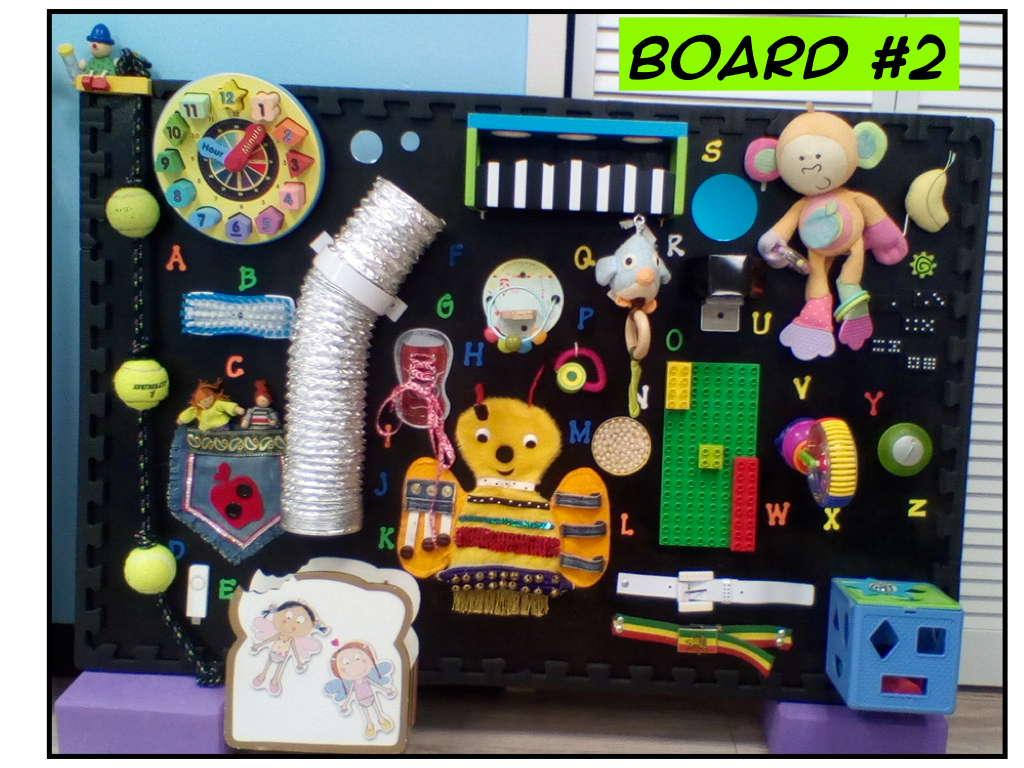
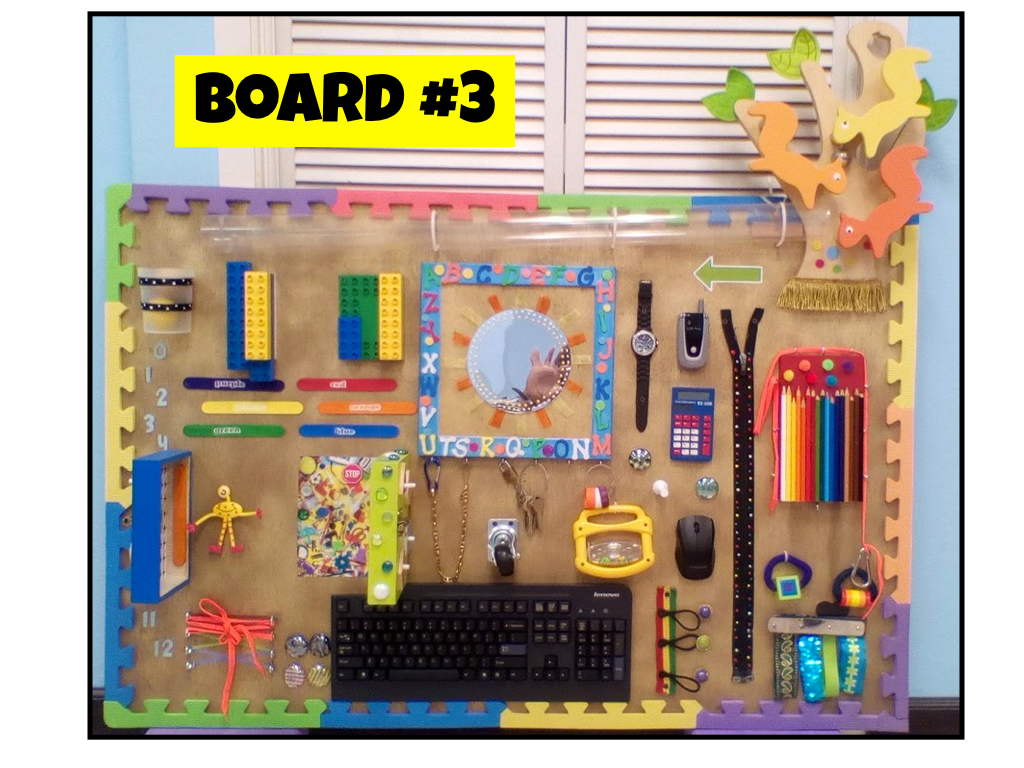
I have created 7 busy/sensory boards.
Unfortunately I do not have any images of them while I was making them. I usually get so engrossed in what I’m making that I completely forget about stopping to take pictures.
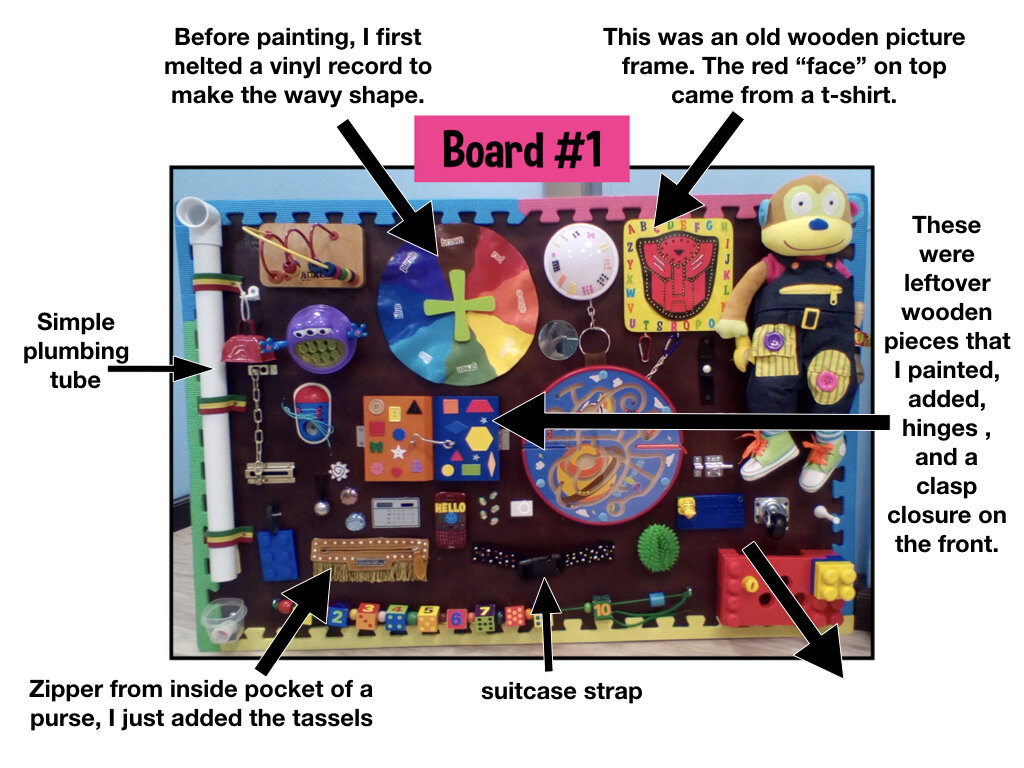
I just used a sheet of plywood, which I painted. The items show up nicely against black or dark brown. Next, I used wood glue to attach the perimeter tile edges. Then I gathered anything that I thought would make an interesting addition. I did end up making a lot of unique pieces.
Perhaps, if there is enough interest, I will conduct a DIY workshop for parents. Let me know if that would be of interest to anyone.
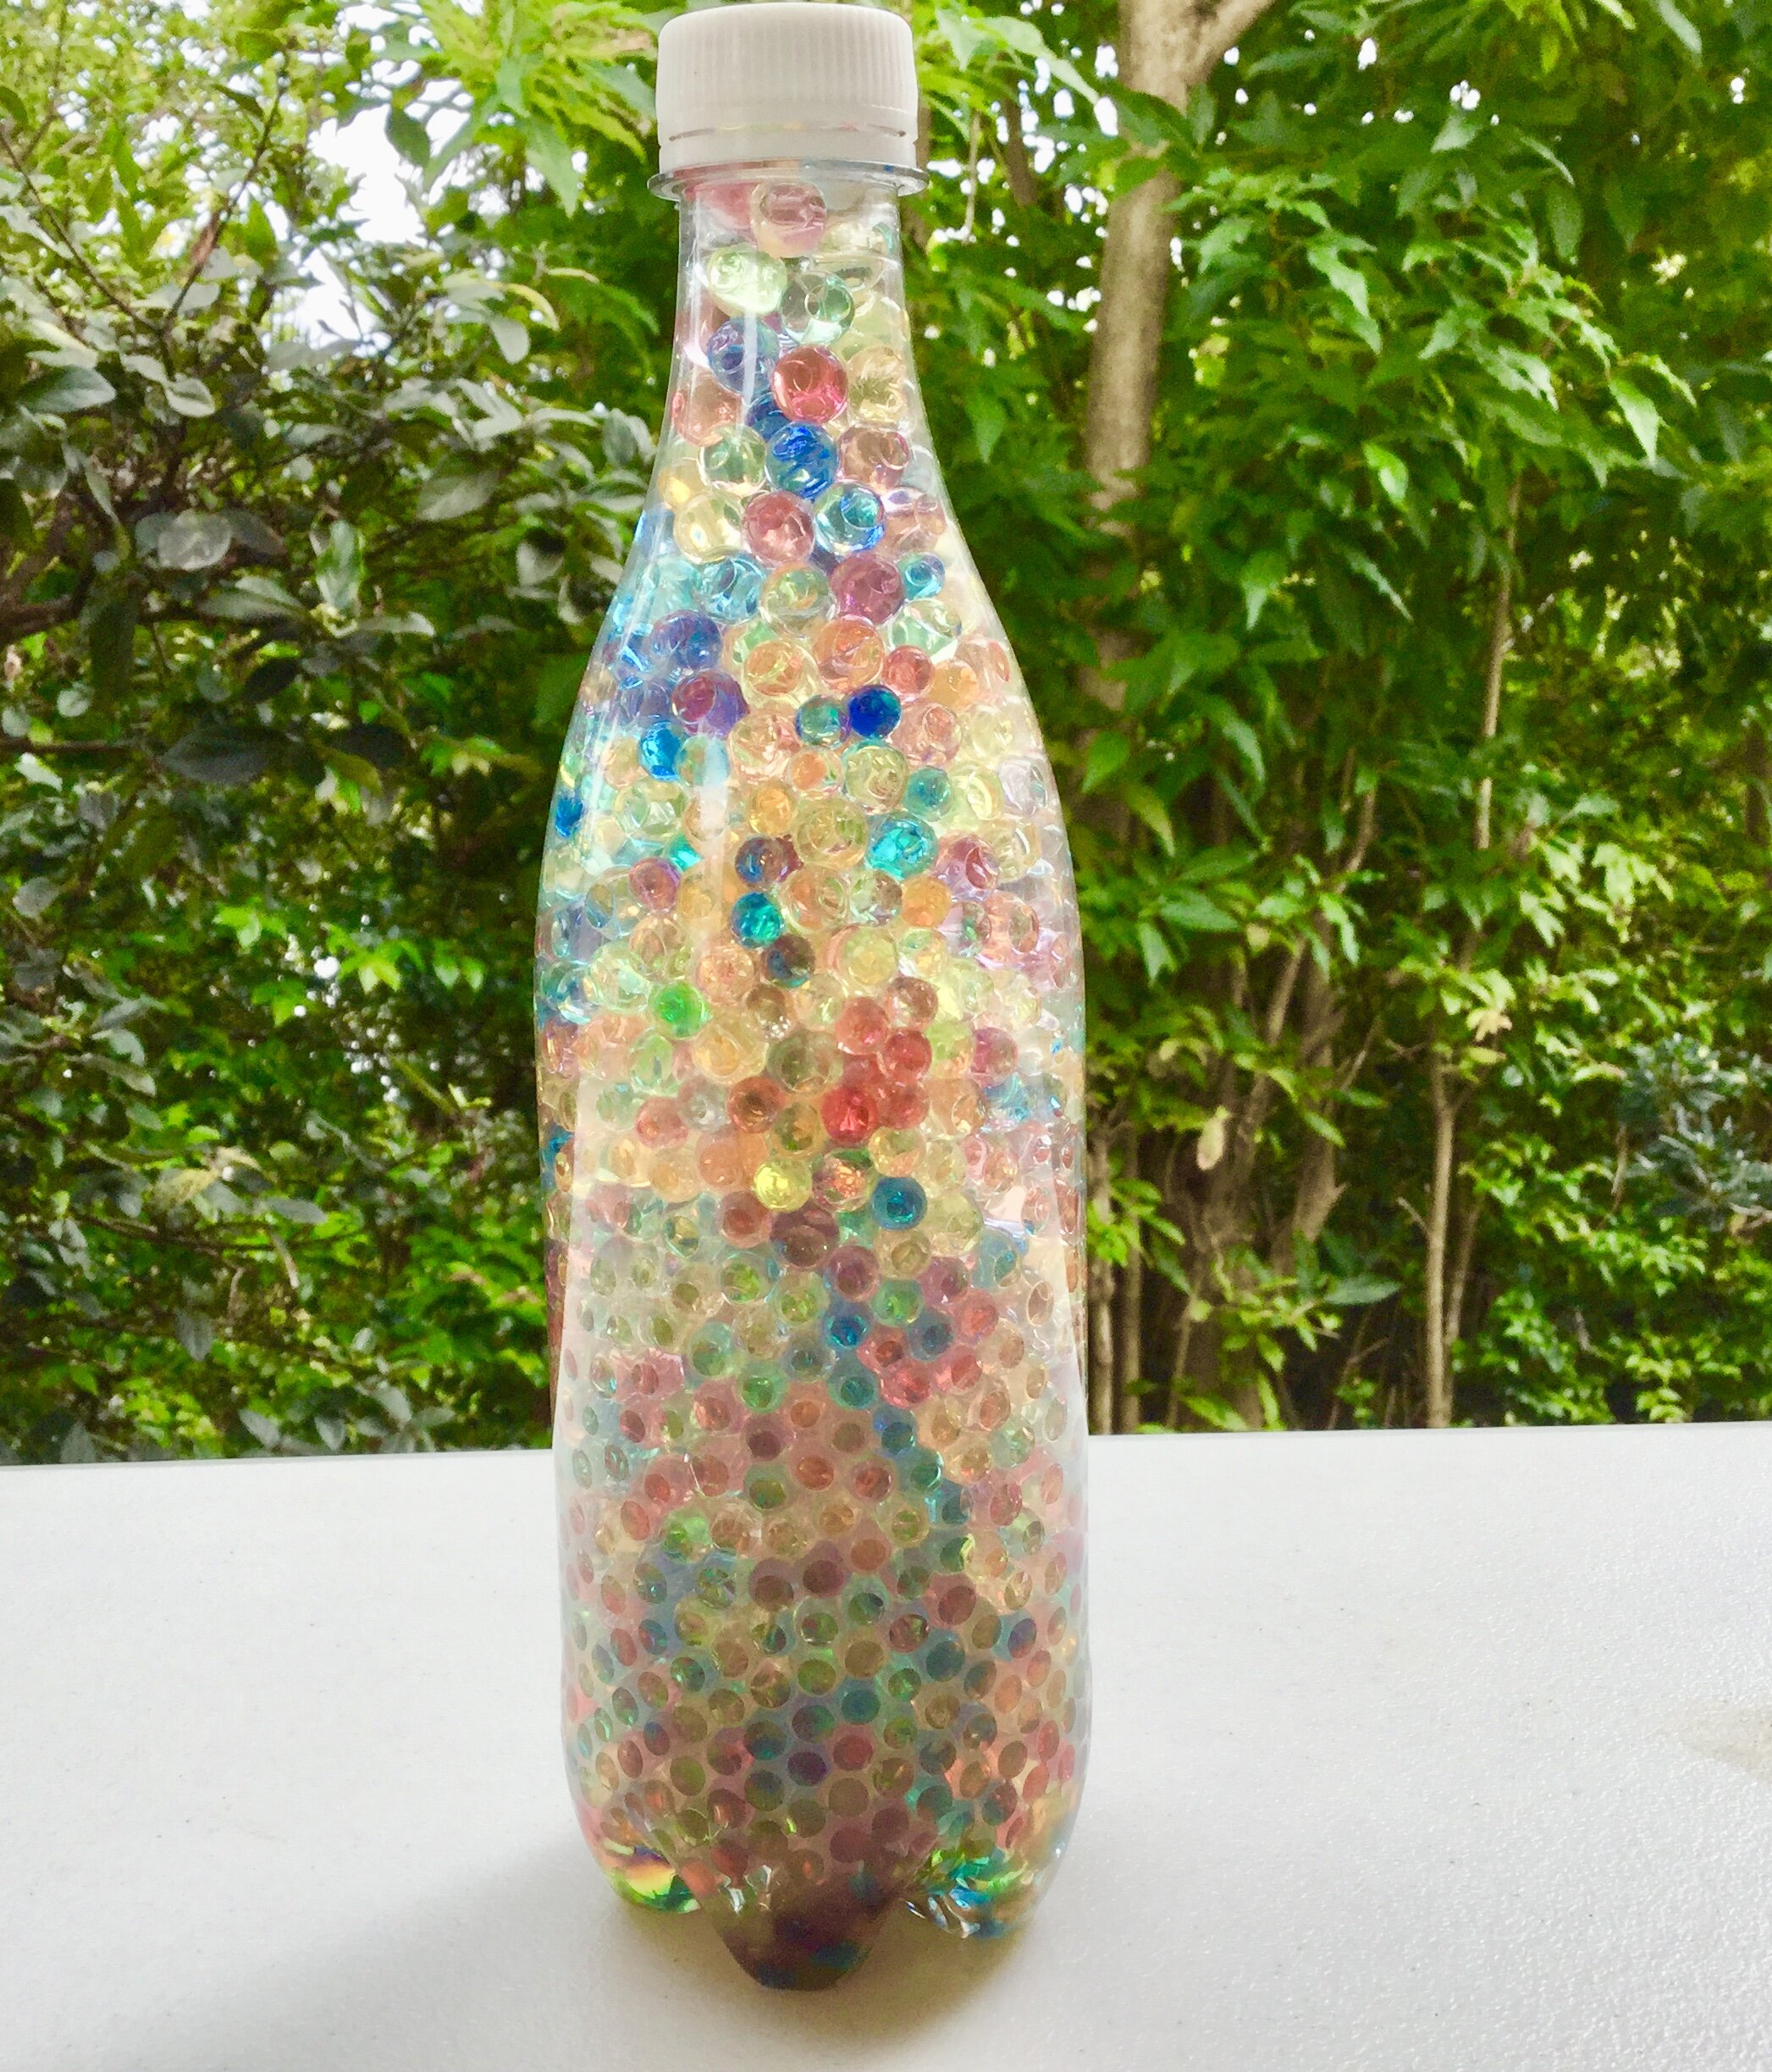
Sensory Bottles/Calm Down Jars
This one was made with clear dish detergent; just added various beads. I used Gorilla Glue to permanently attach the bottle top.
Little ones love turning the bottles over to watch the beads slowly move from one end to the other!
Sturdy bottles are a must…you can see the teeth marks!
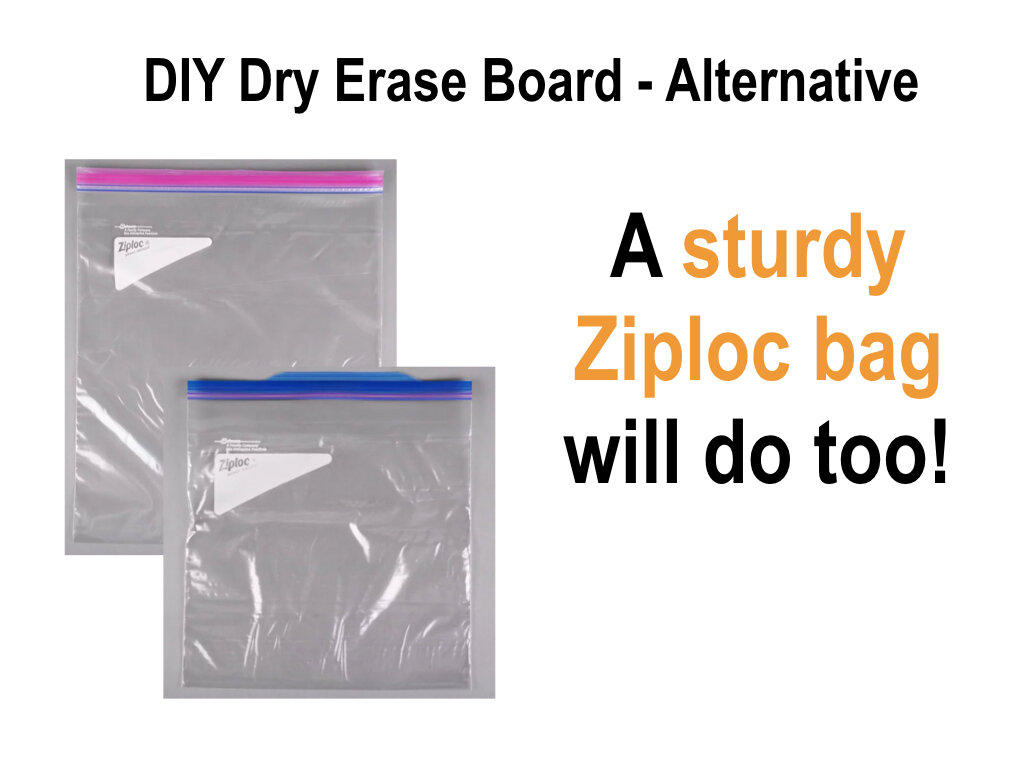
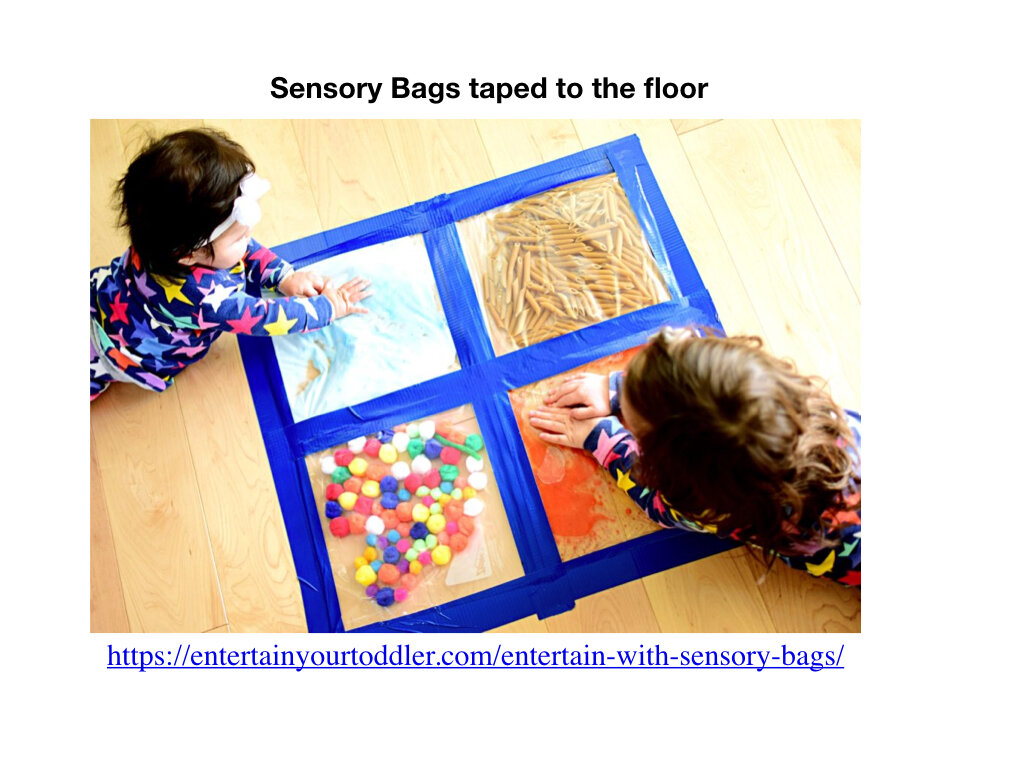
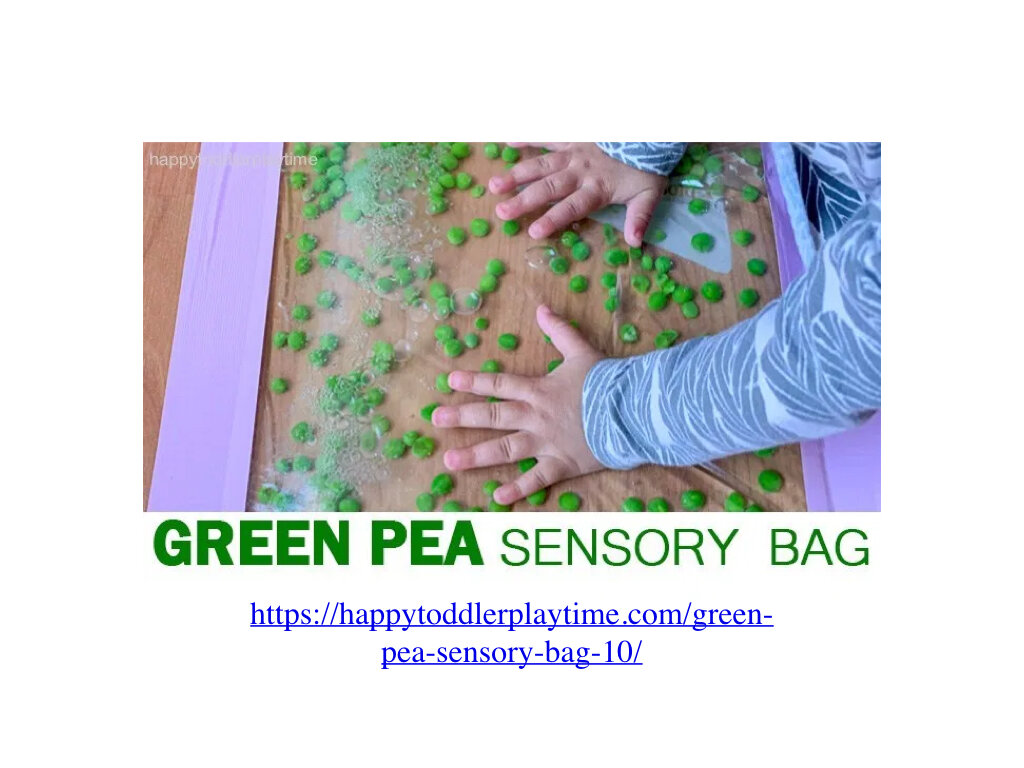
Sensory Bags
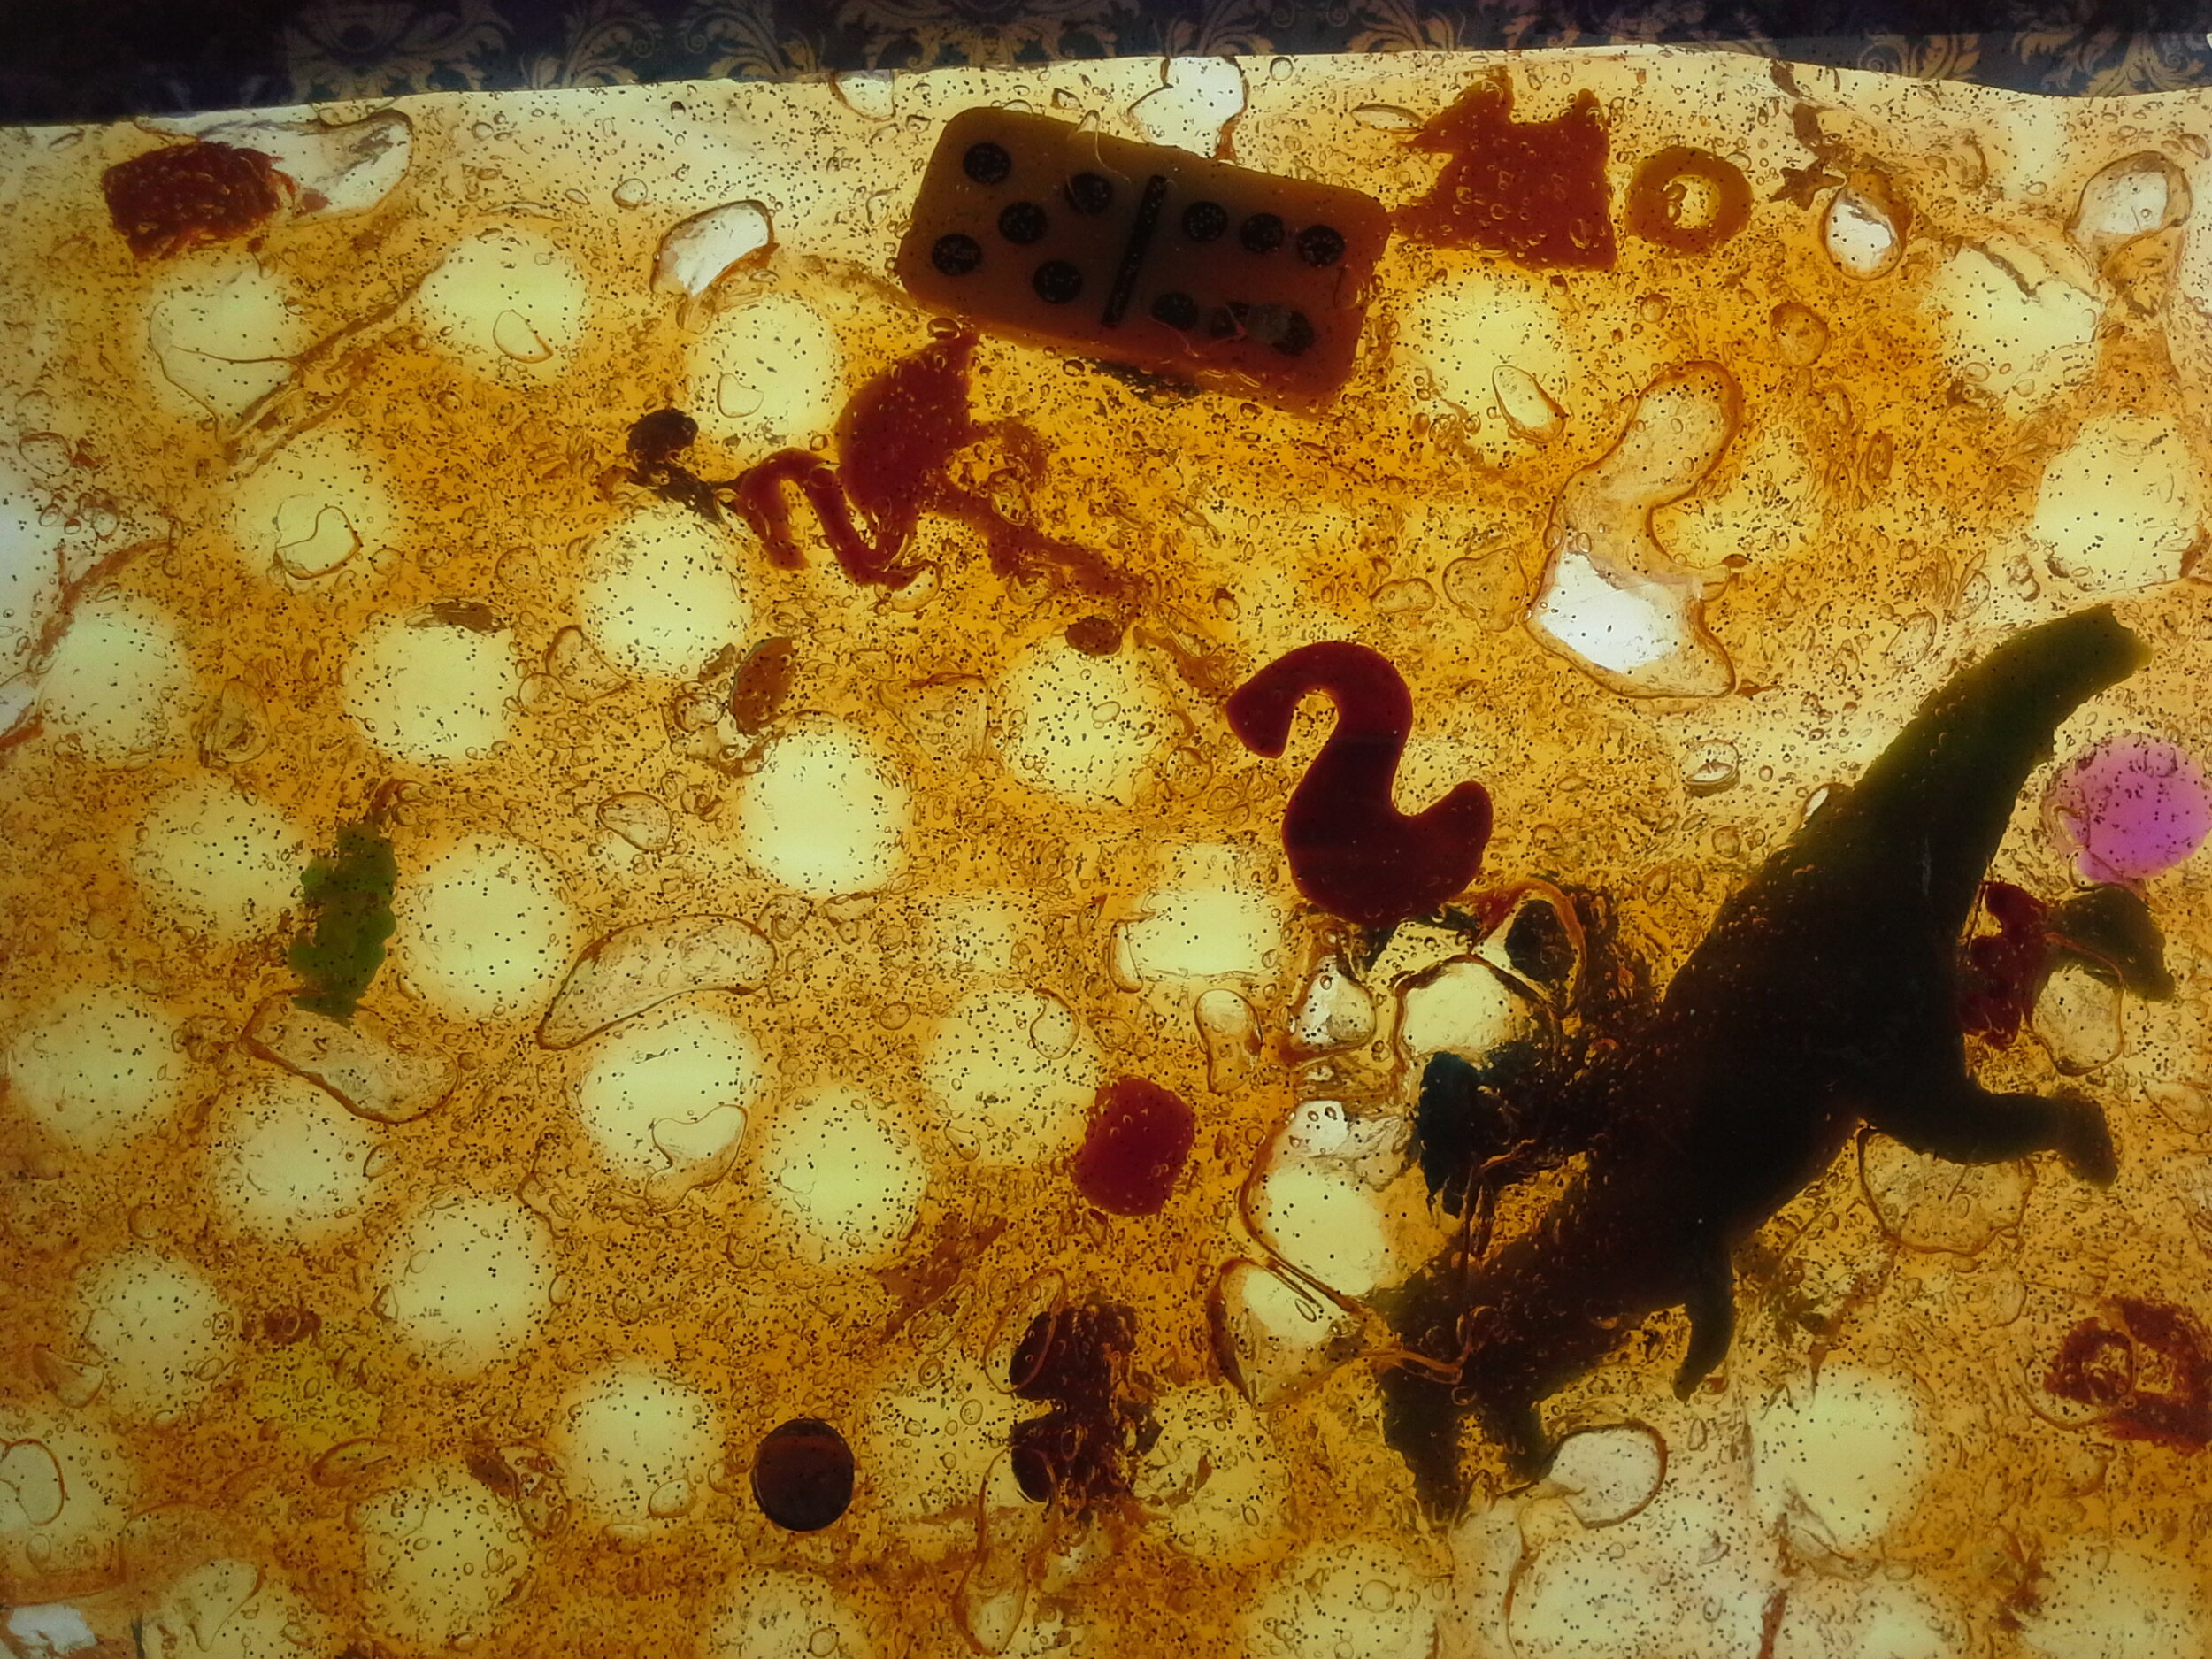
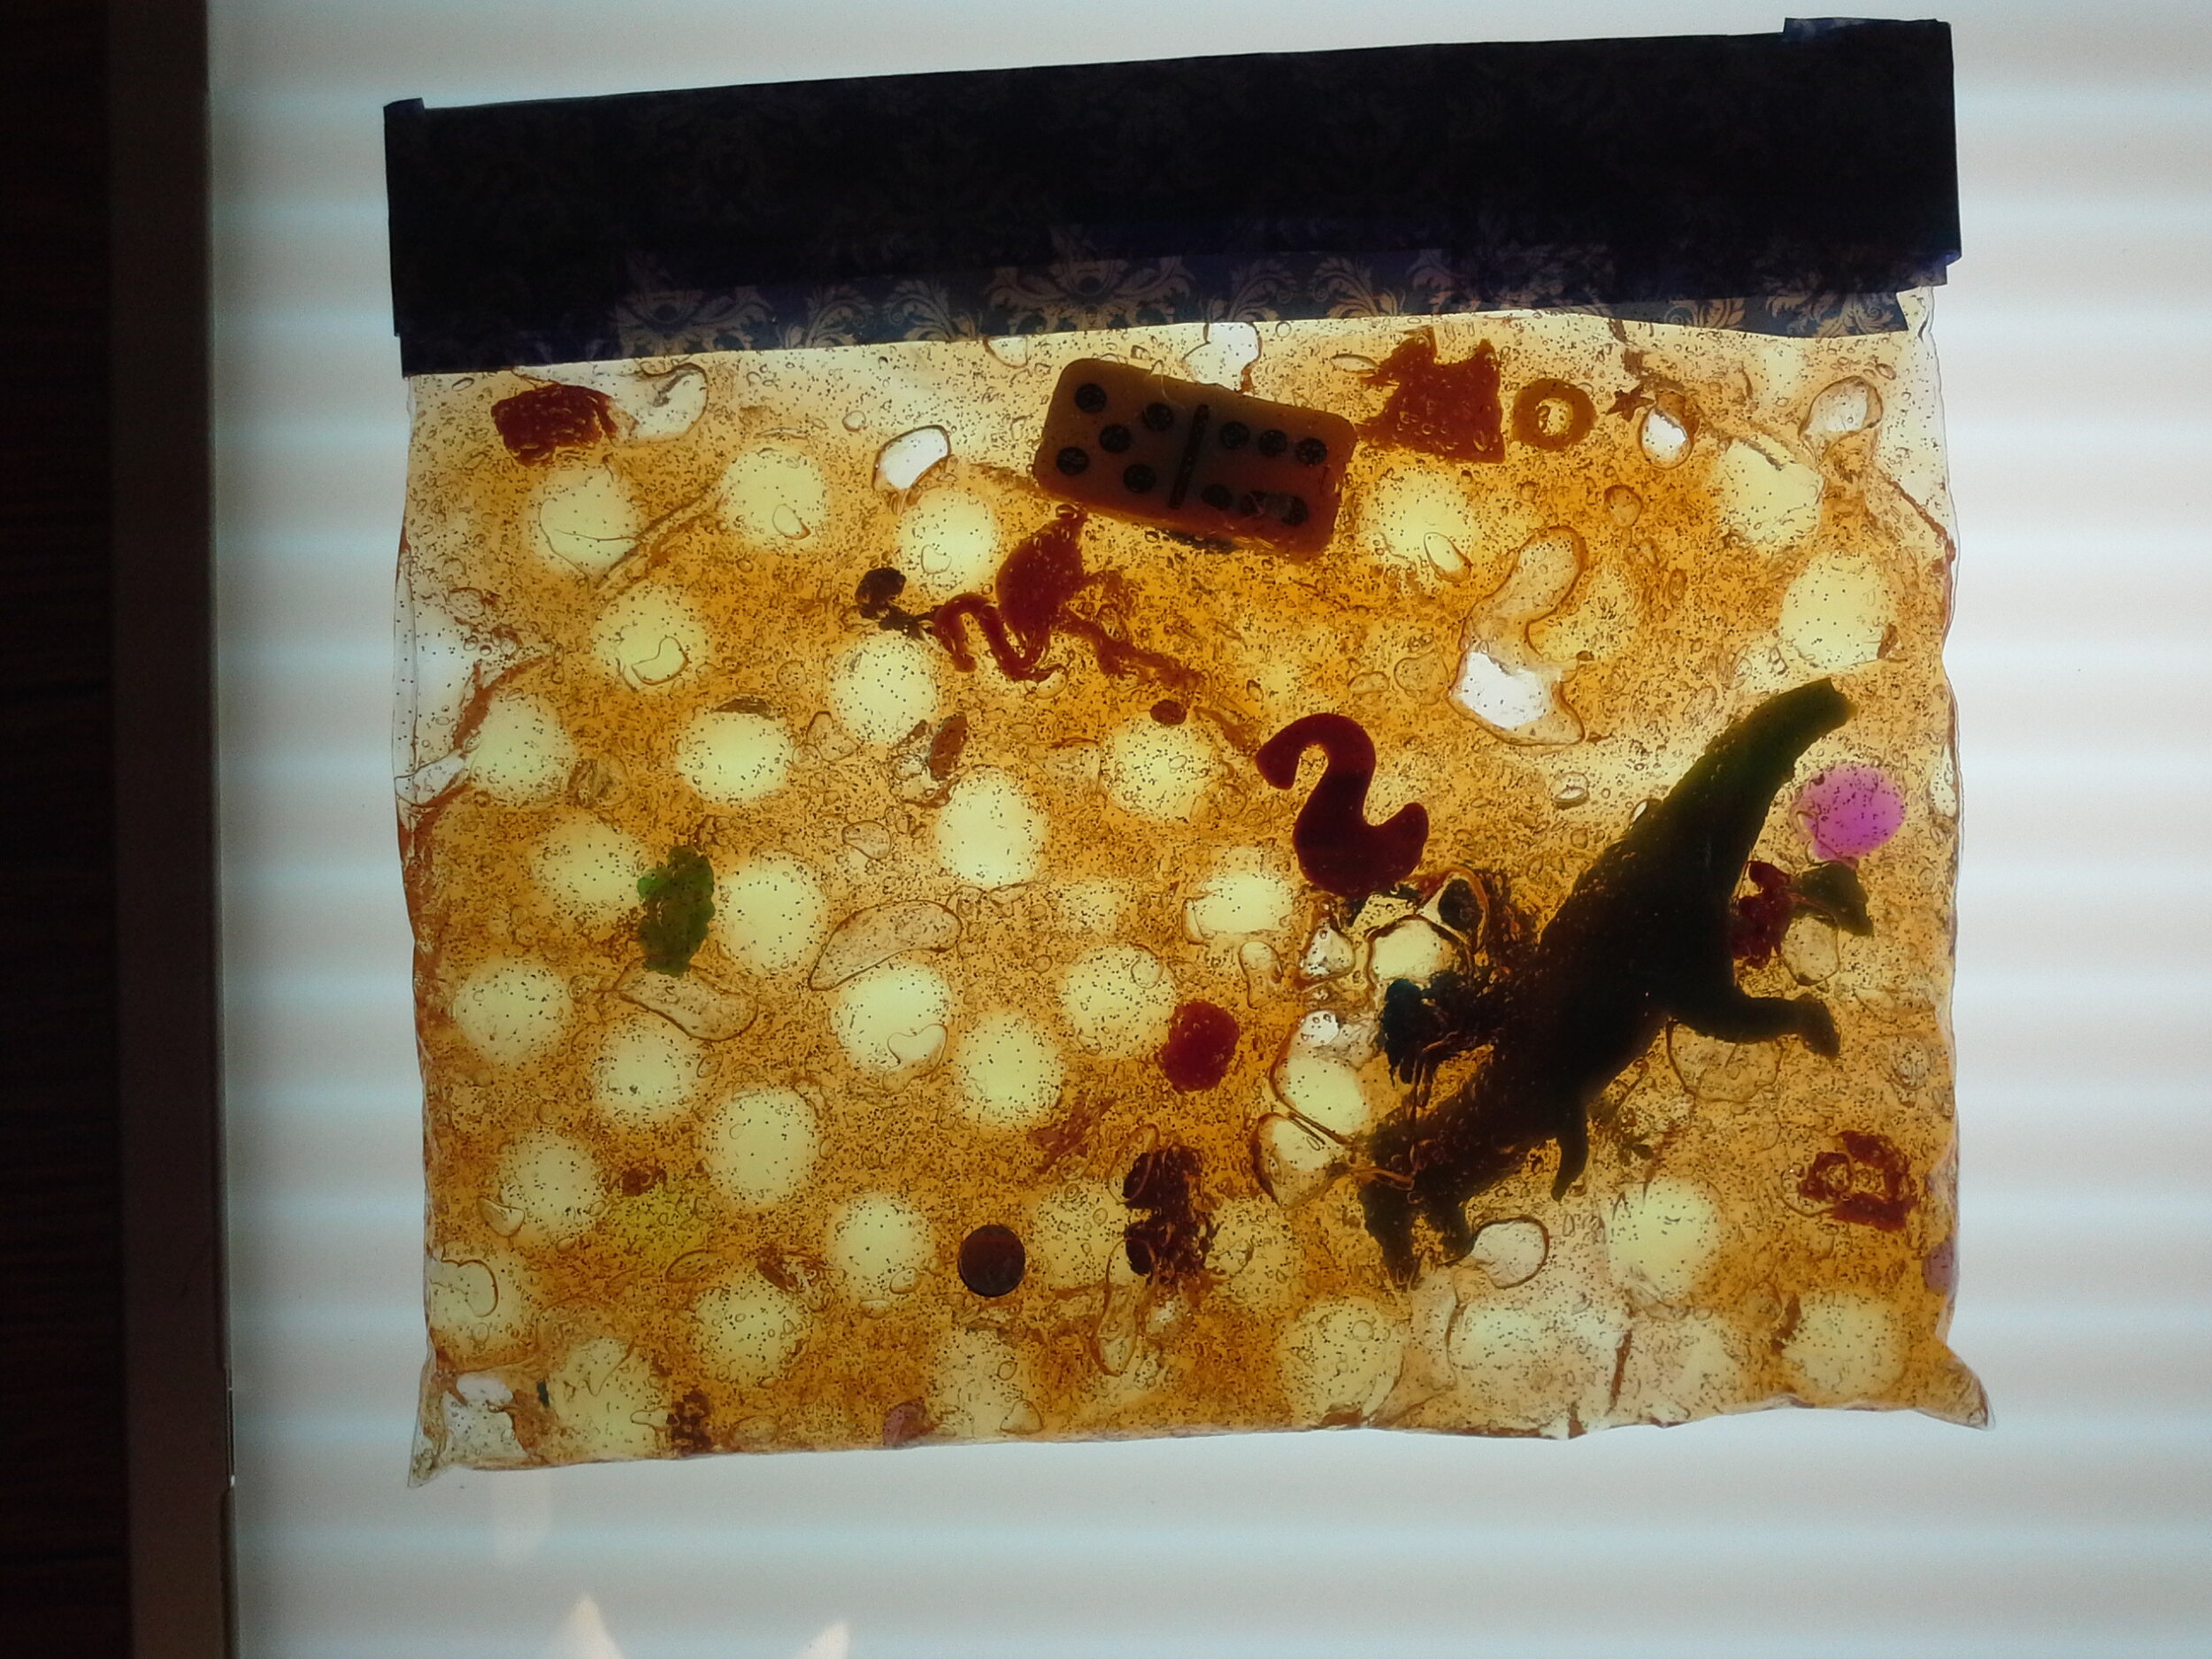
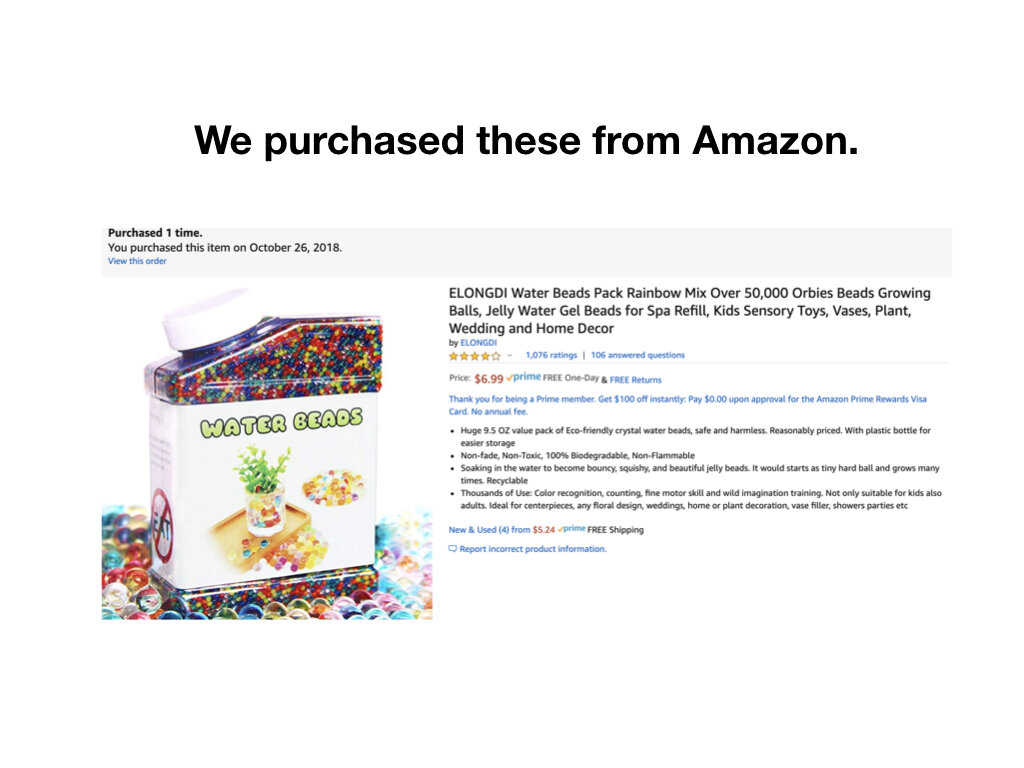
Squishy bags are similar to sensory bottles, but the materials are placed and sealed inside Ziploc bags. We filled the bags with hair gel and then added foam letters, beads, elastics, dinosaurs, dominoes, wiggly eyes, and water beads. You can use anything that will not puncture the plastic!
This images was taken with the squishy bag on top of our light box.
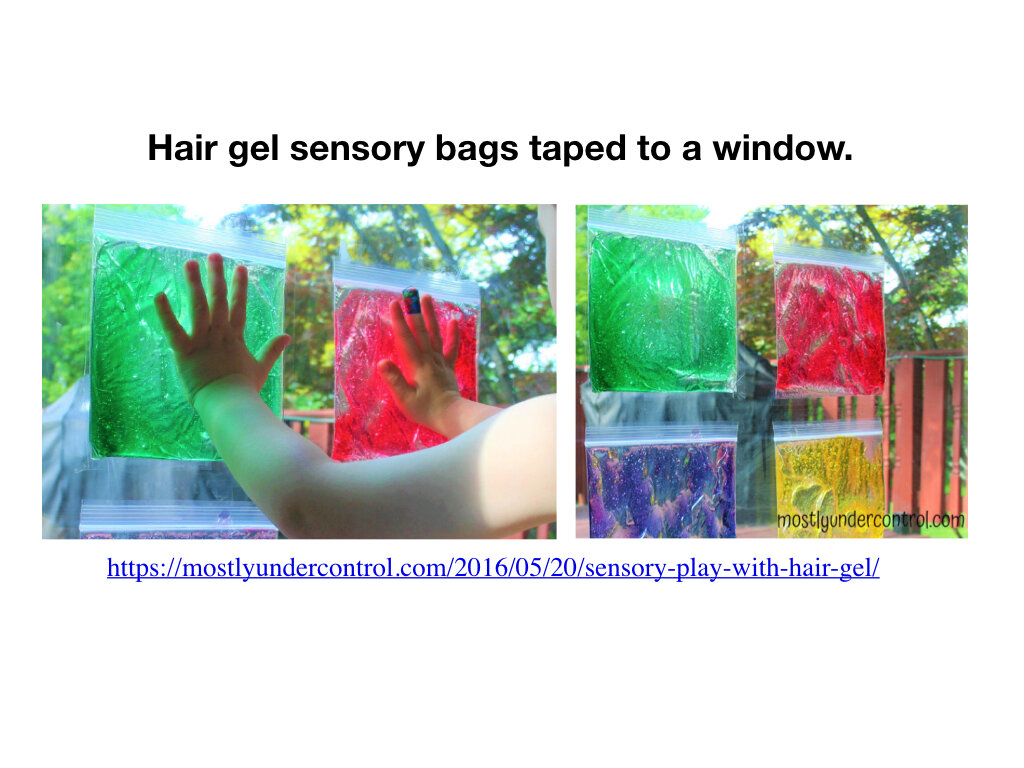
The age of the child is important as sharp teeth can easily puncture these bags. With younger children the bags can be taped to a box, wall, or a window.
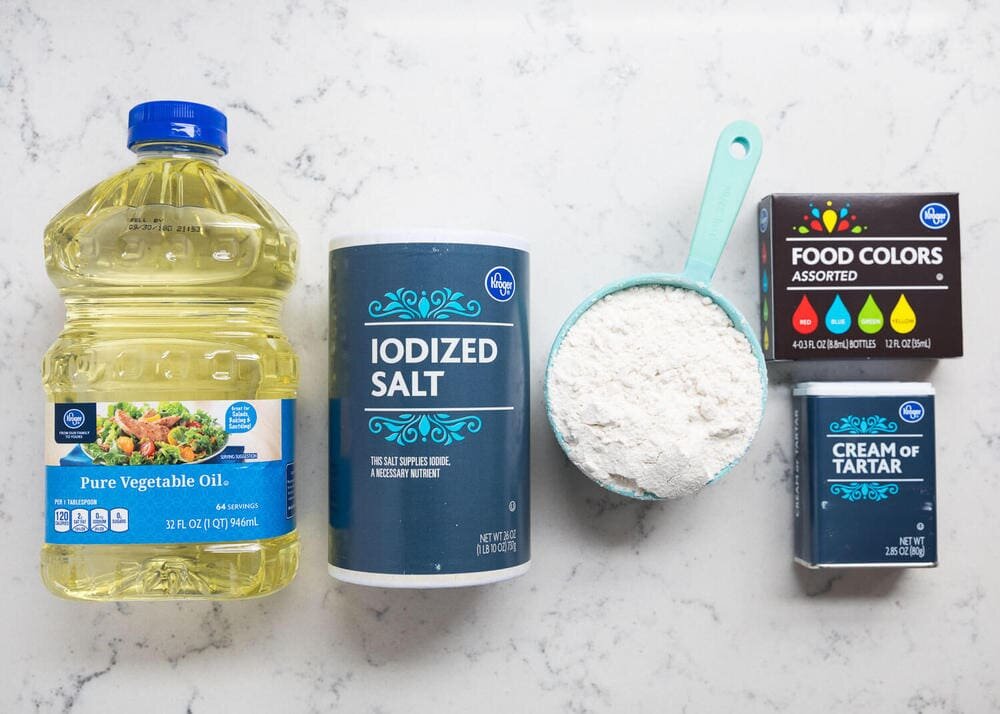
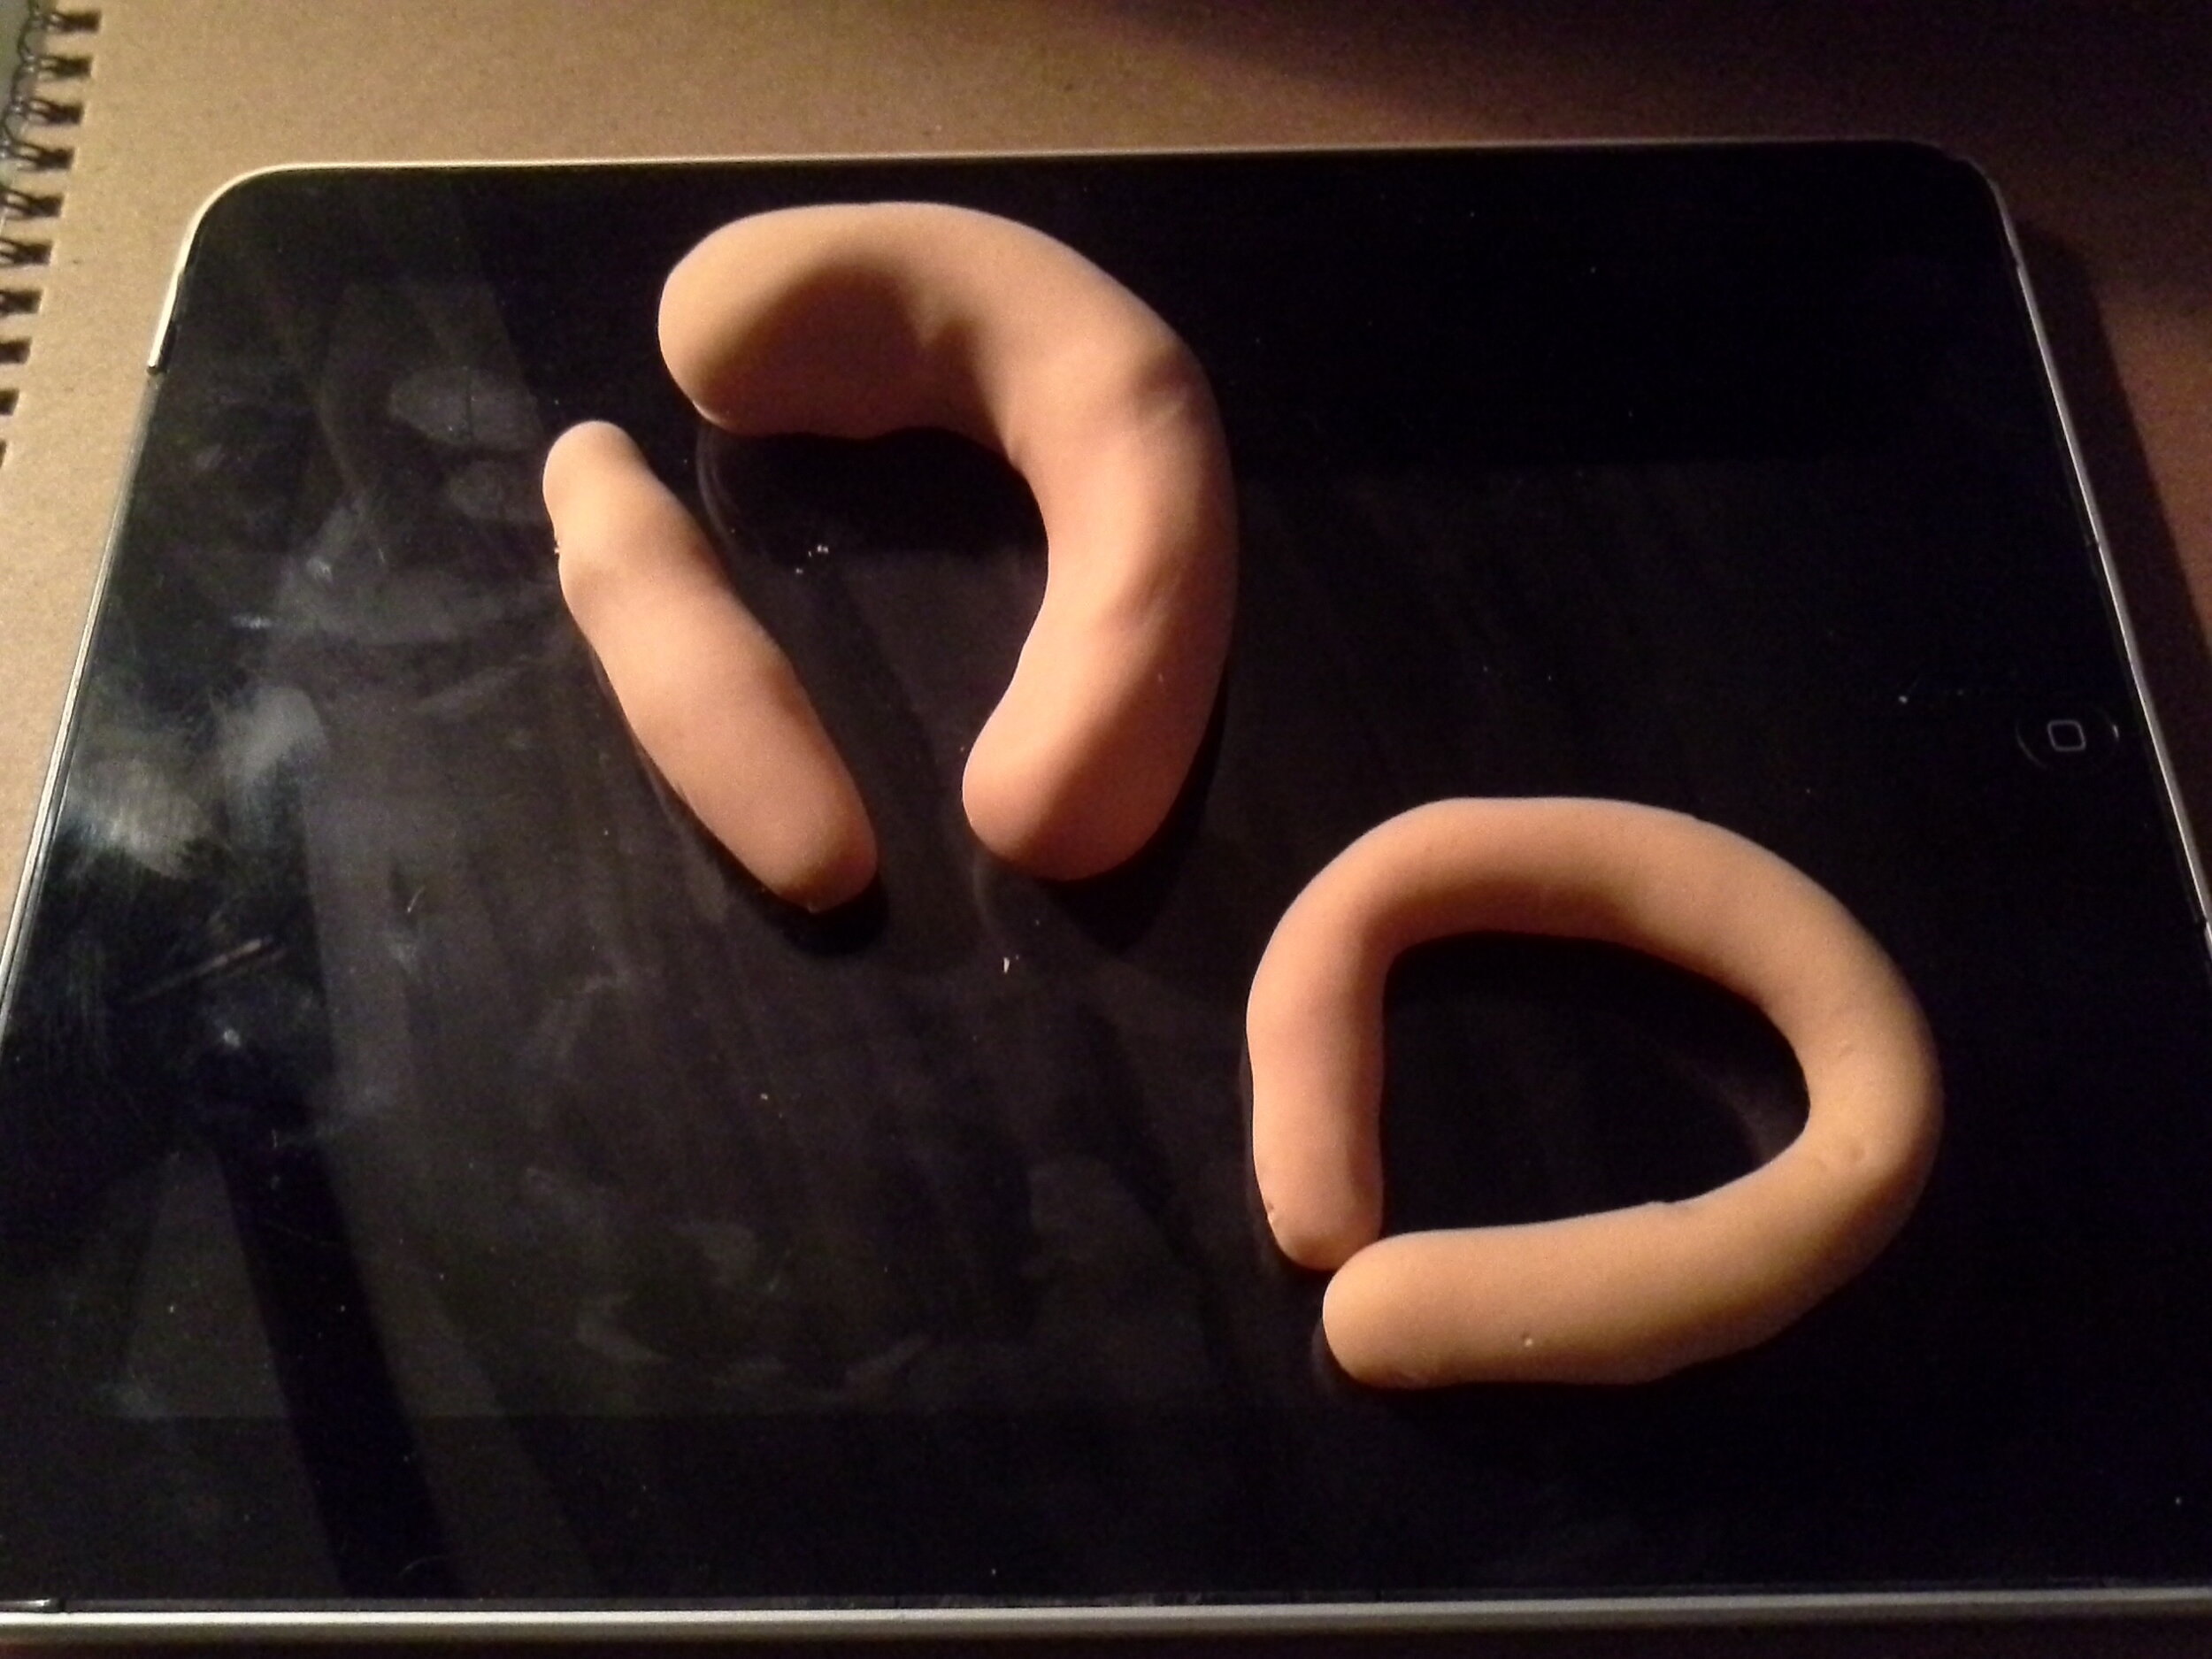
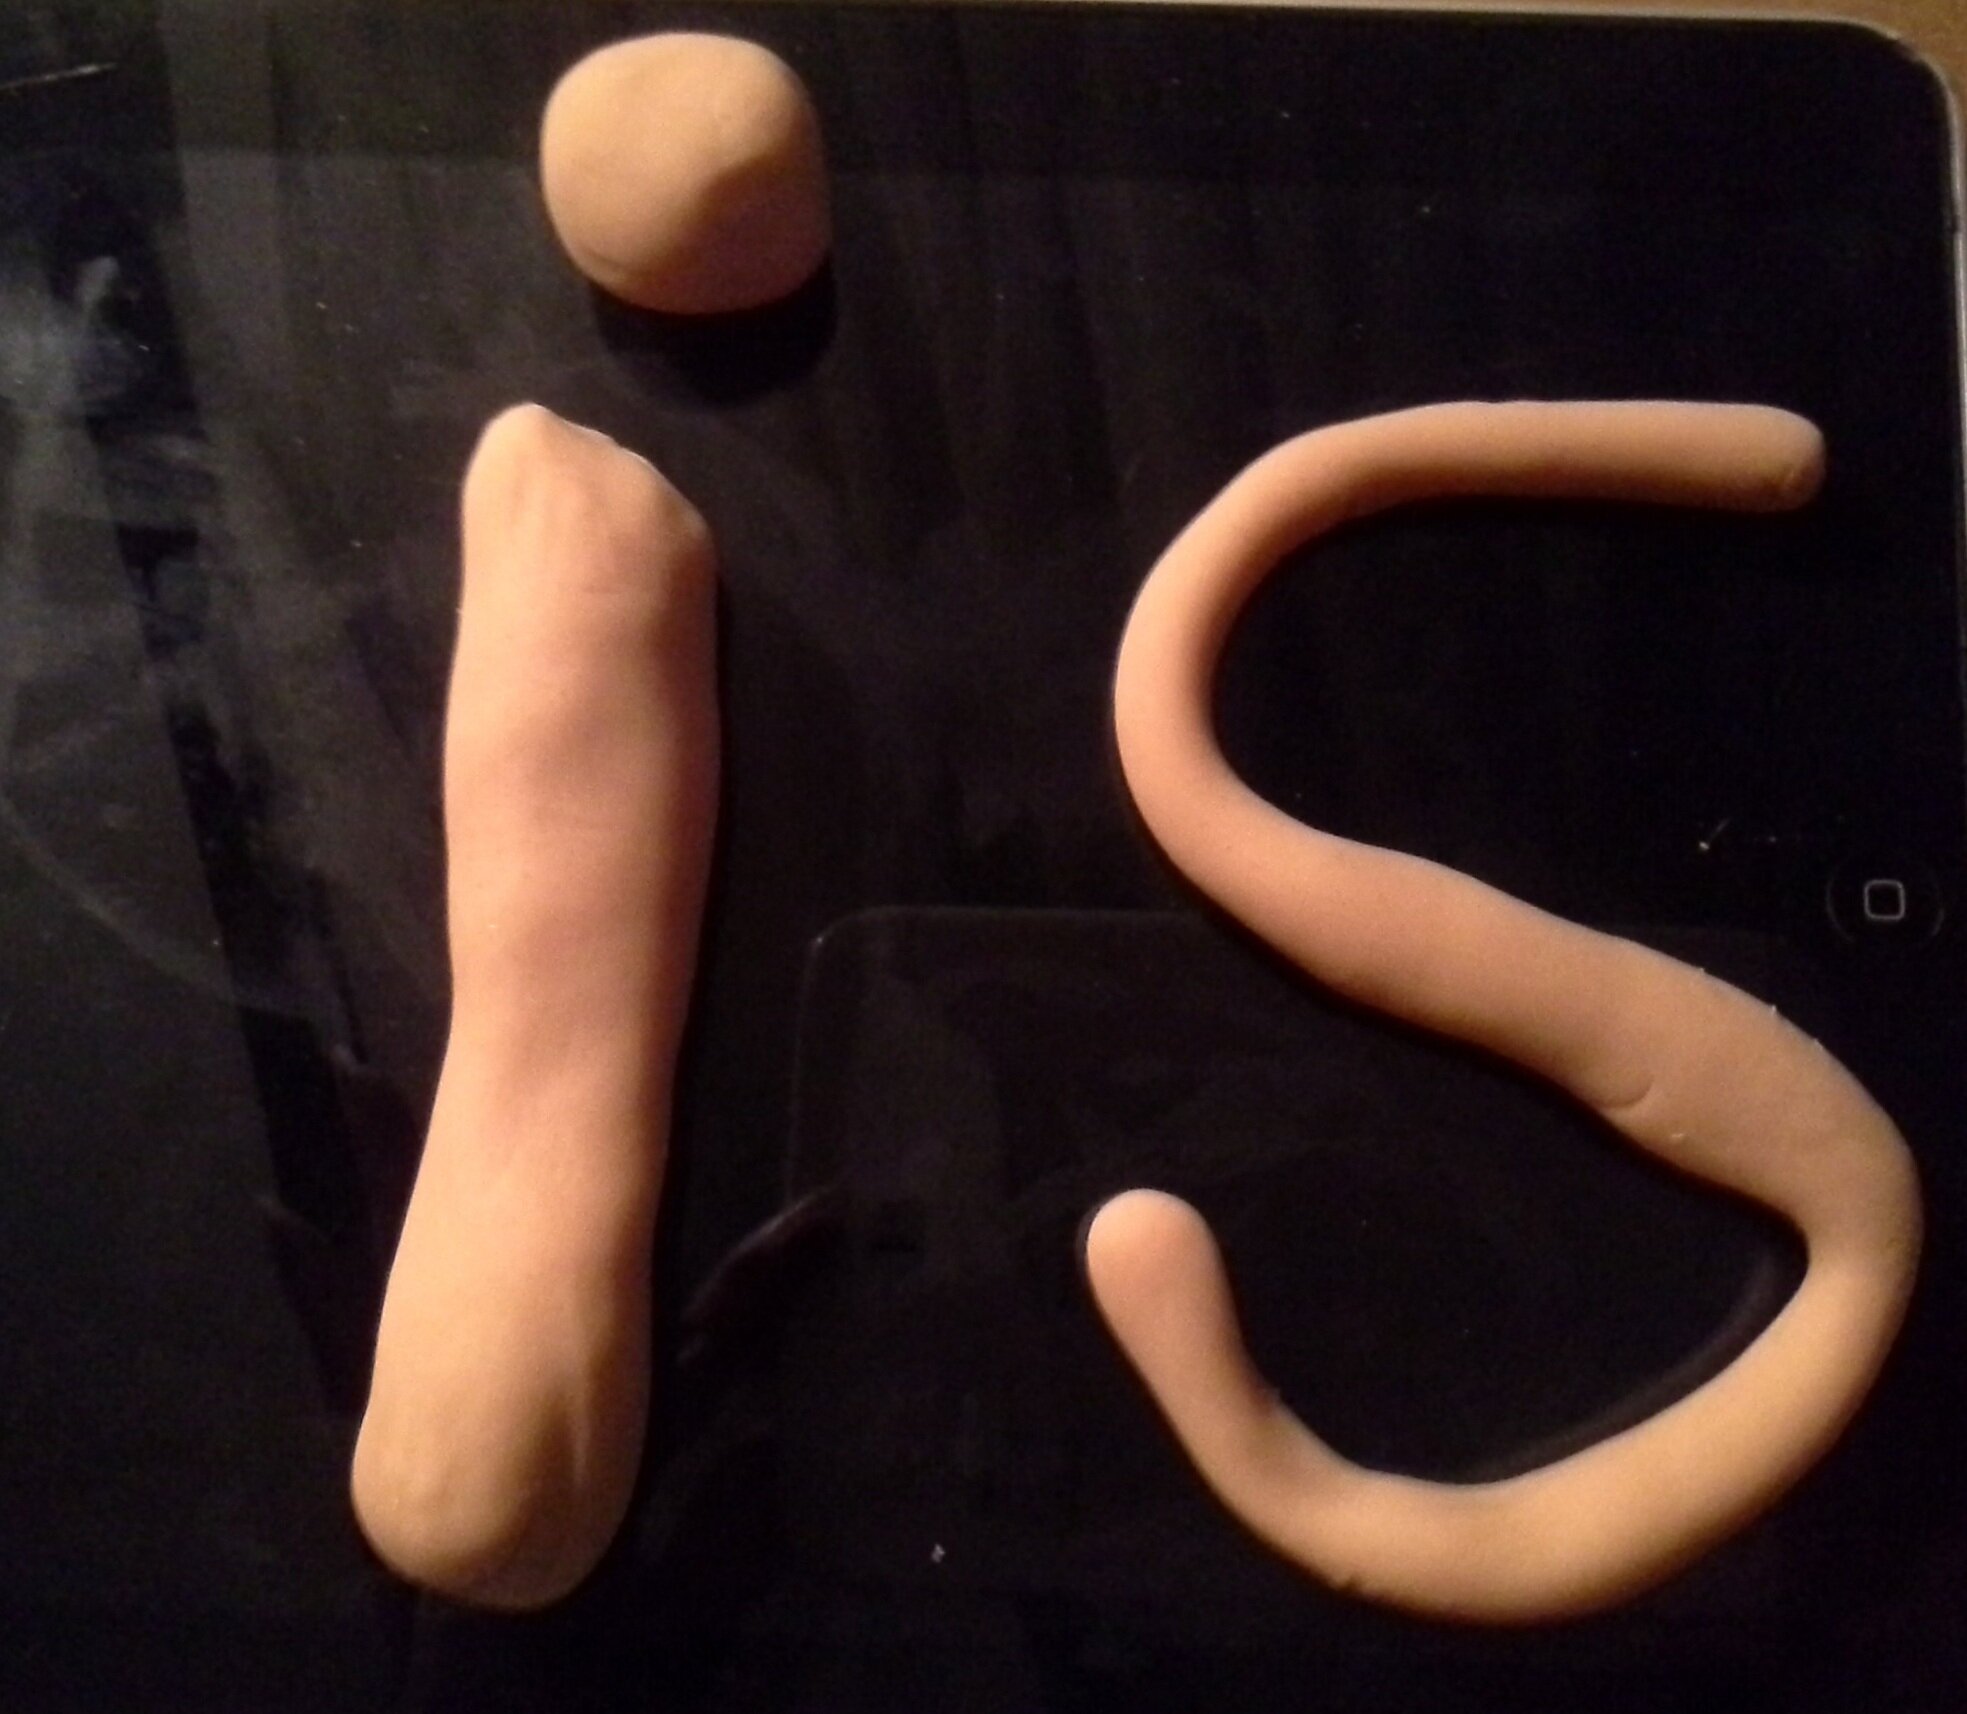
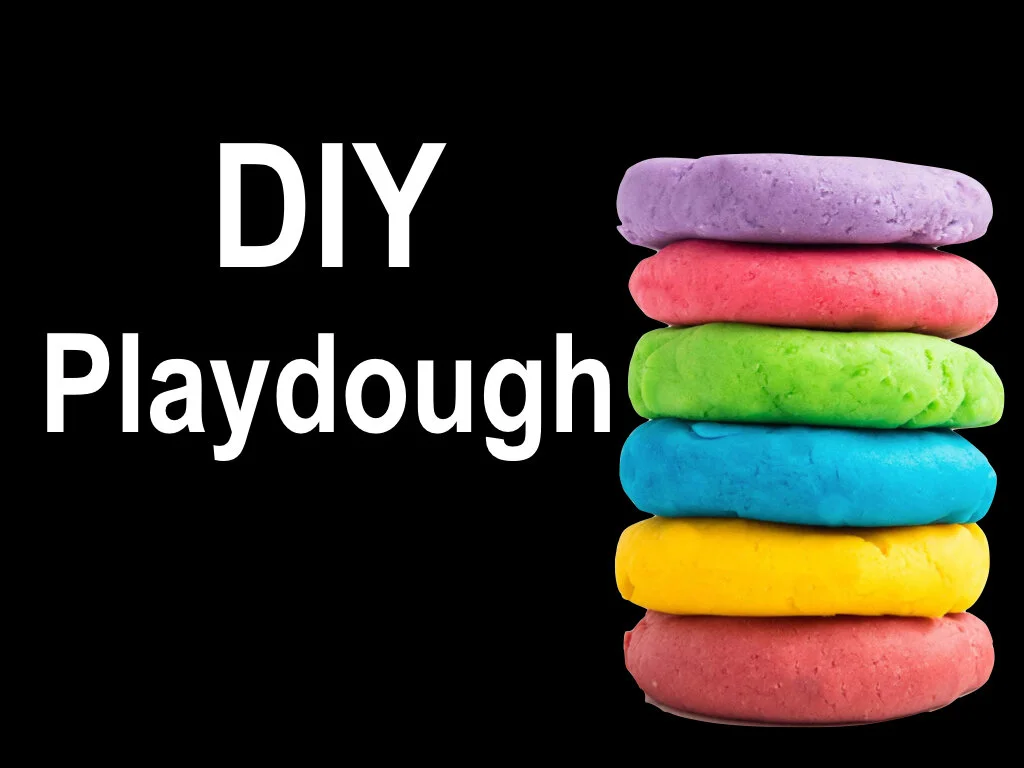
DIY Playdough
Click image above for external link to recipe
https://www.iheartnaptime.net/play-dough-recipe/
This is the playdough recipe we use at BSMART. It doesn’t stick and lasts for a very long time!
More to come …

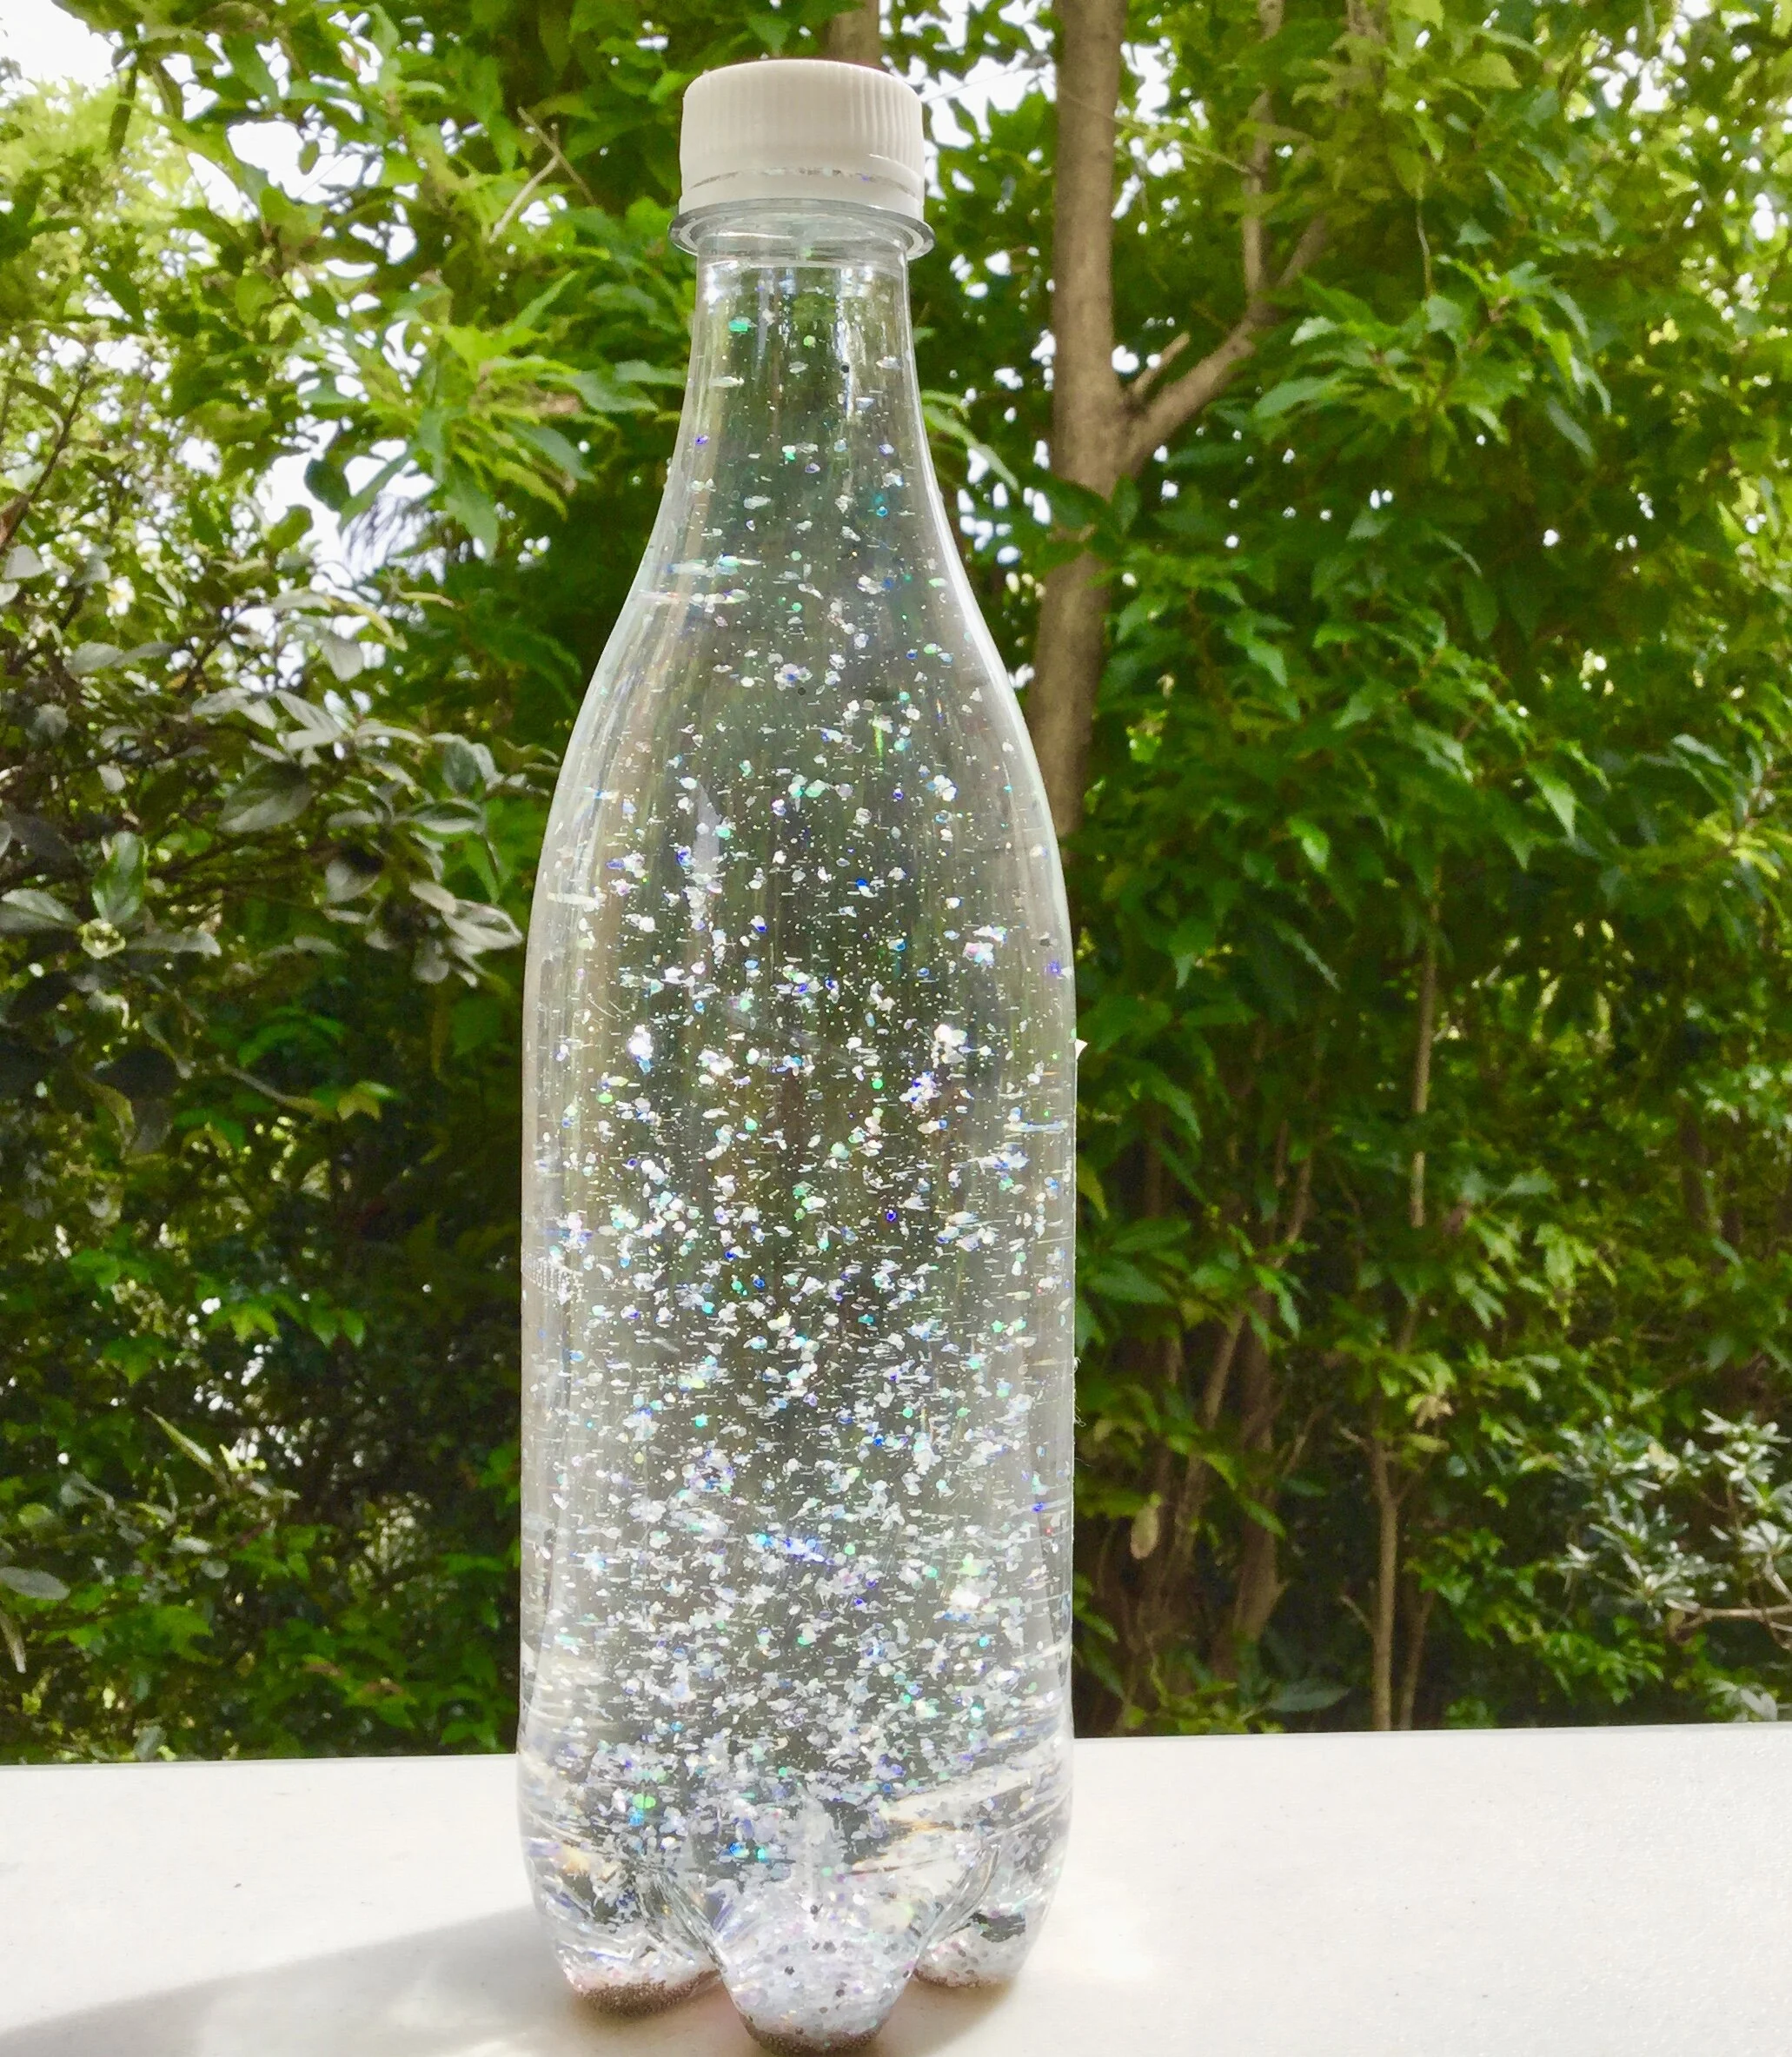
Sensory Bottles/Calm Down Jars
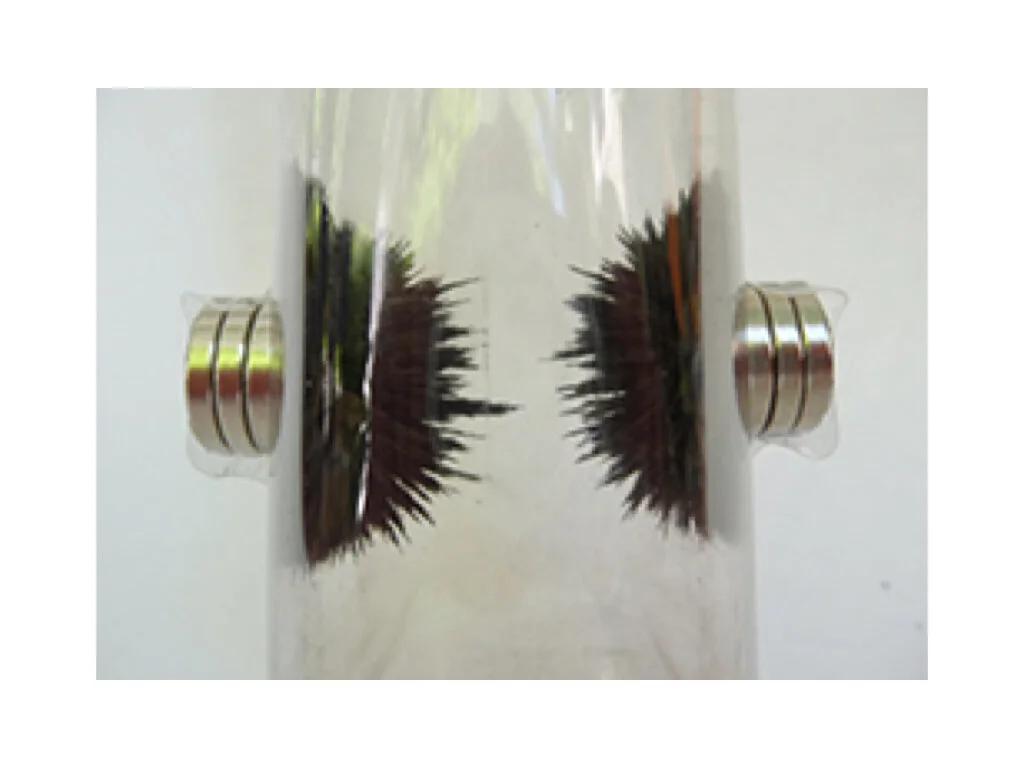
Sensory bottle with water and iron filings.
DIY Sensory bottles can be a useful calming tool for children. Homemade Sensory bottles can also provide a way for children and adults of all ages to engage in portable no mess “safe” sensory play.
Older children can begin to examine the inner workings of the sensory bottle in order to learn basic science principles, while babies and toddlers can investigate small items that are not yet safe for them to touch. We have used: beads, buttons, elastics, , small pom-poms, marbles, and water beads. We have also filled one with water and iron filings. The kids use magnets of magnet wand to explore.
Tips
Ensure you use sturdy bottles. There are some plastic water bottles that are very thin and can be pierced by sharp little teeth! Always use a strong adhesive to secure the bottle tops.
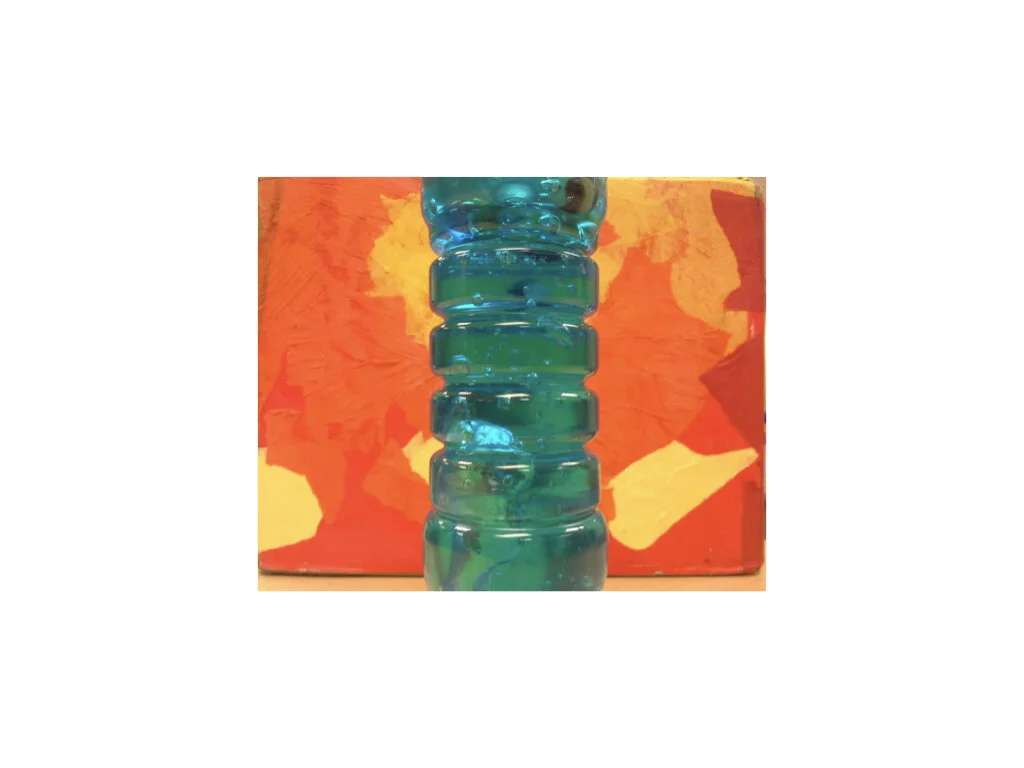
The blue bottle was made with clear hair gel that I dyed with food coloring.
I have found that Voss water bottles have been the best, but keep in mind that they can get very heavy. After repeated drops, the top on one of our has become cracked. Since I secure the tops with Gorilla Glue, I can’t fix it, so I’ll have to create some more. I believe I used a mixture of clear soap and water for that one.
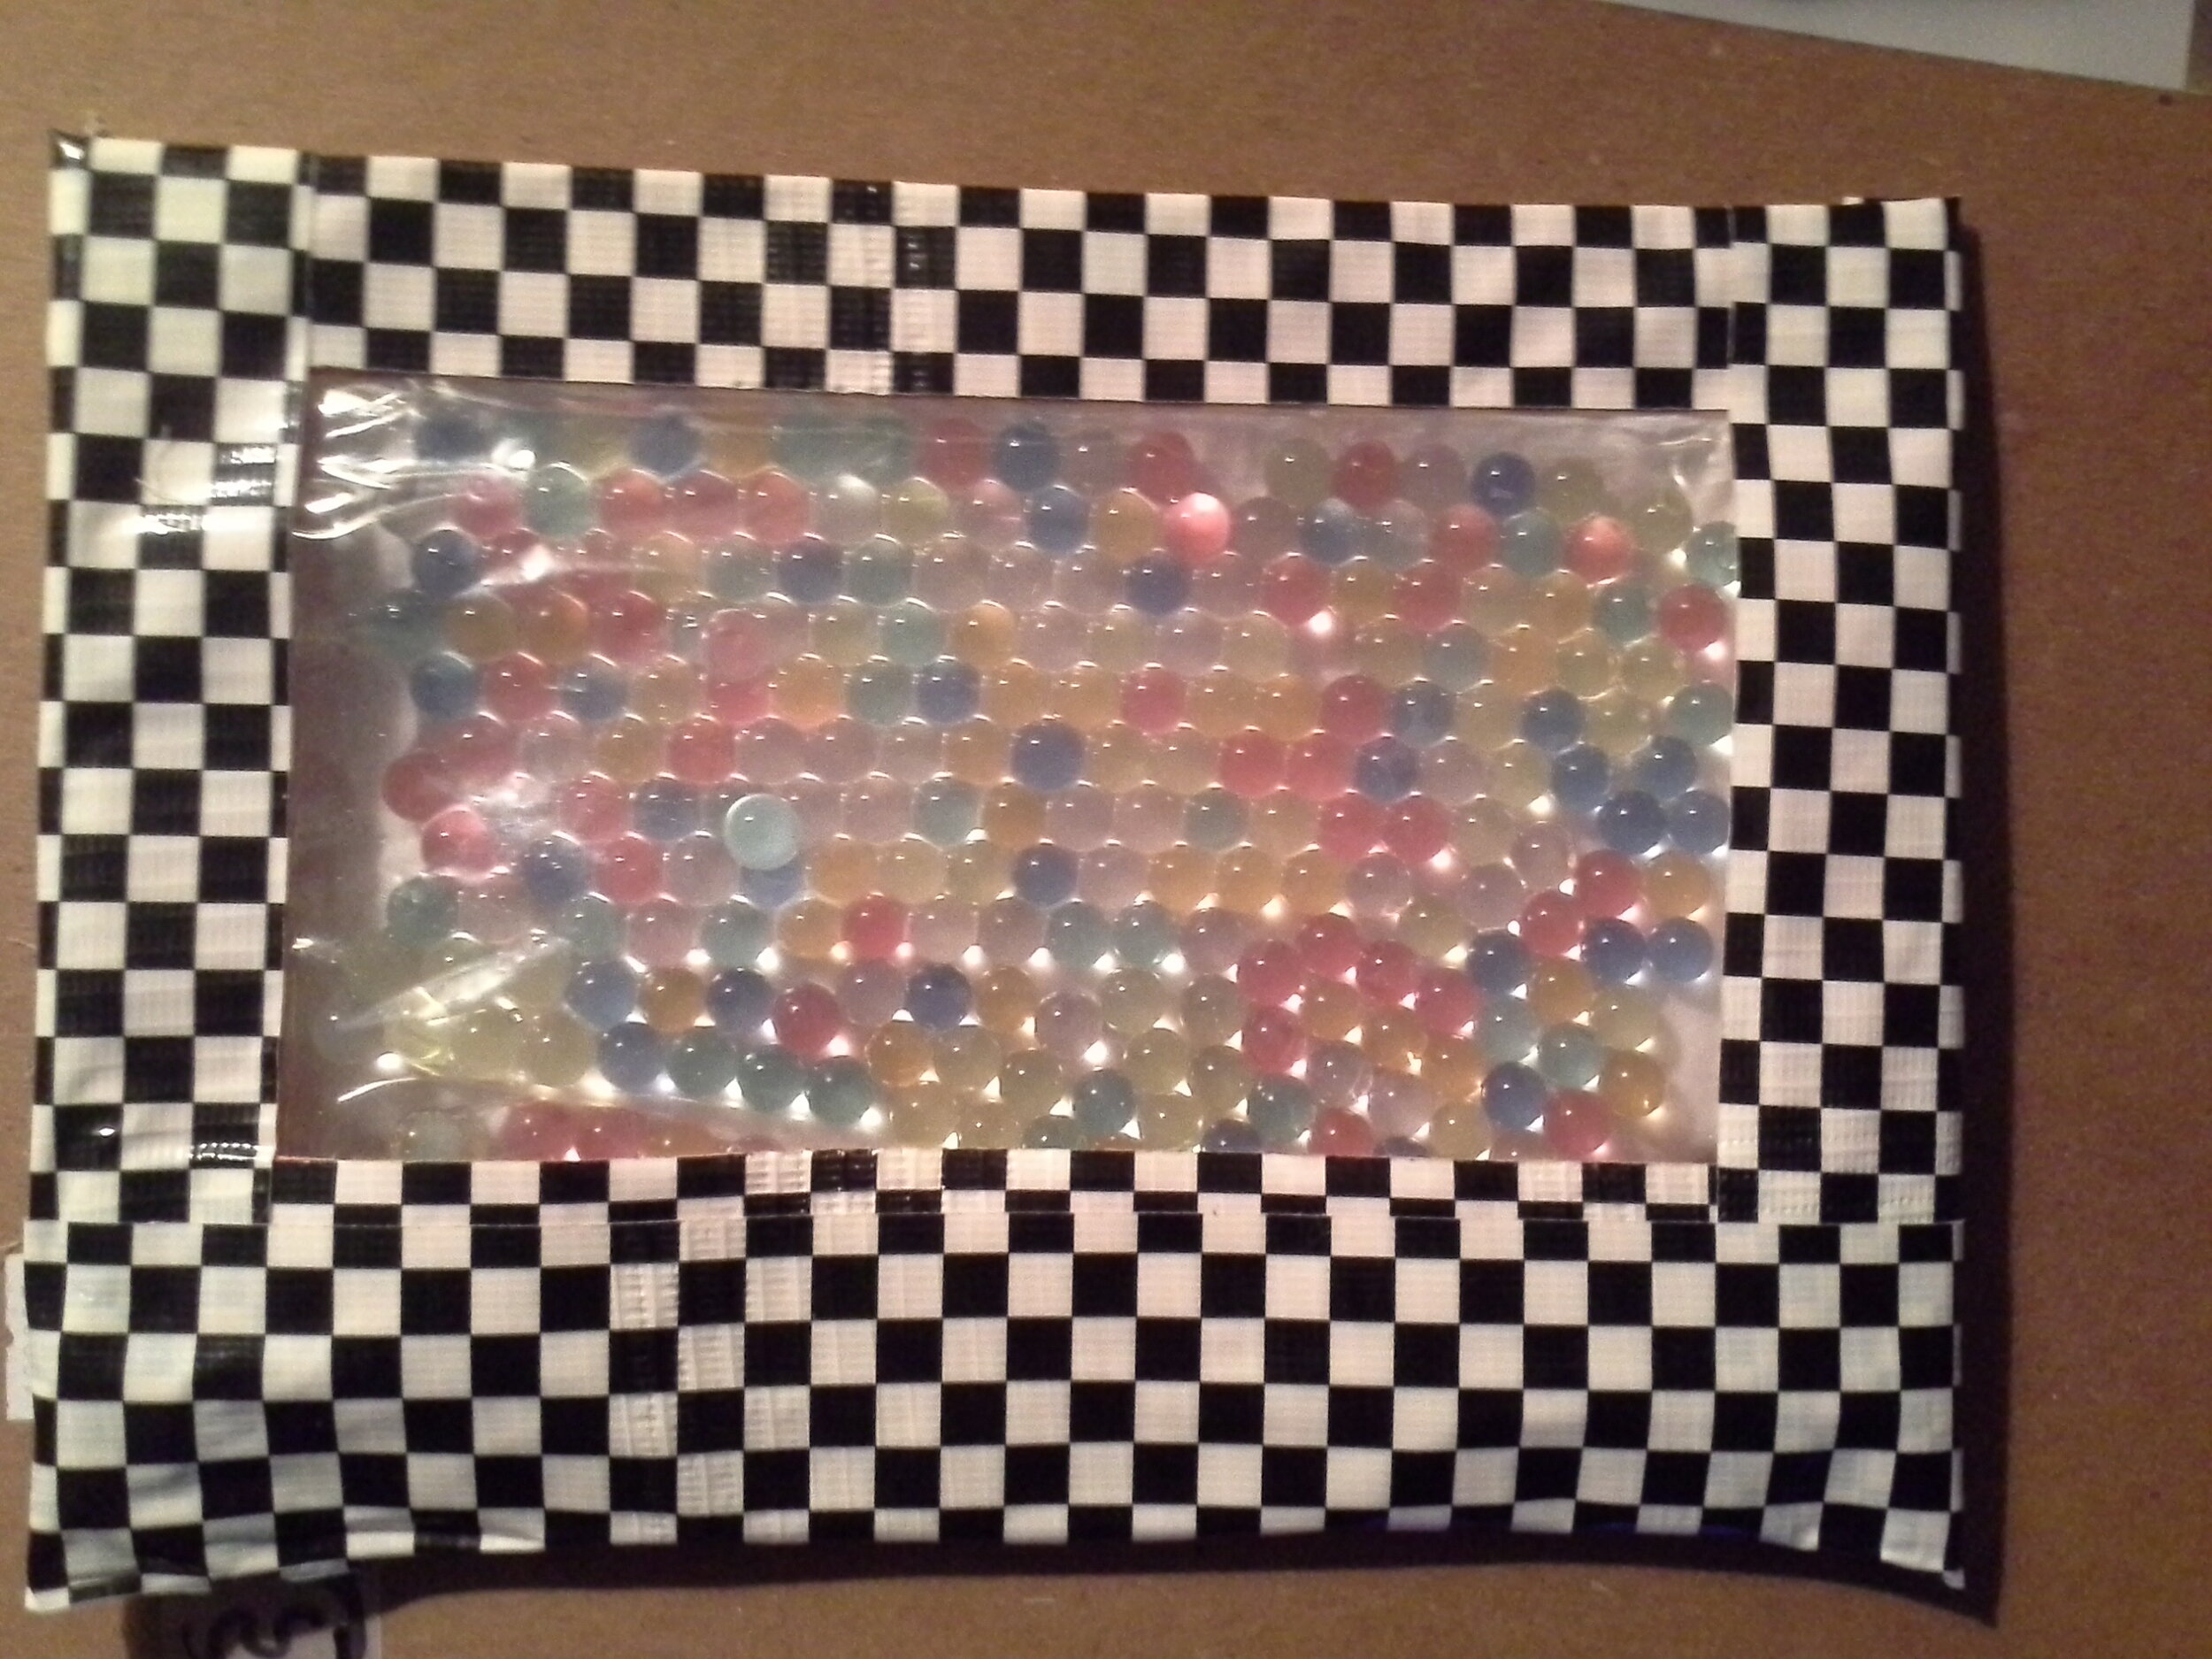

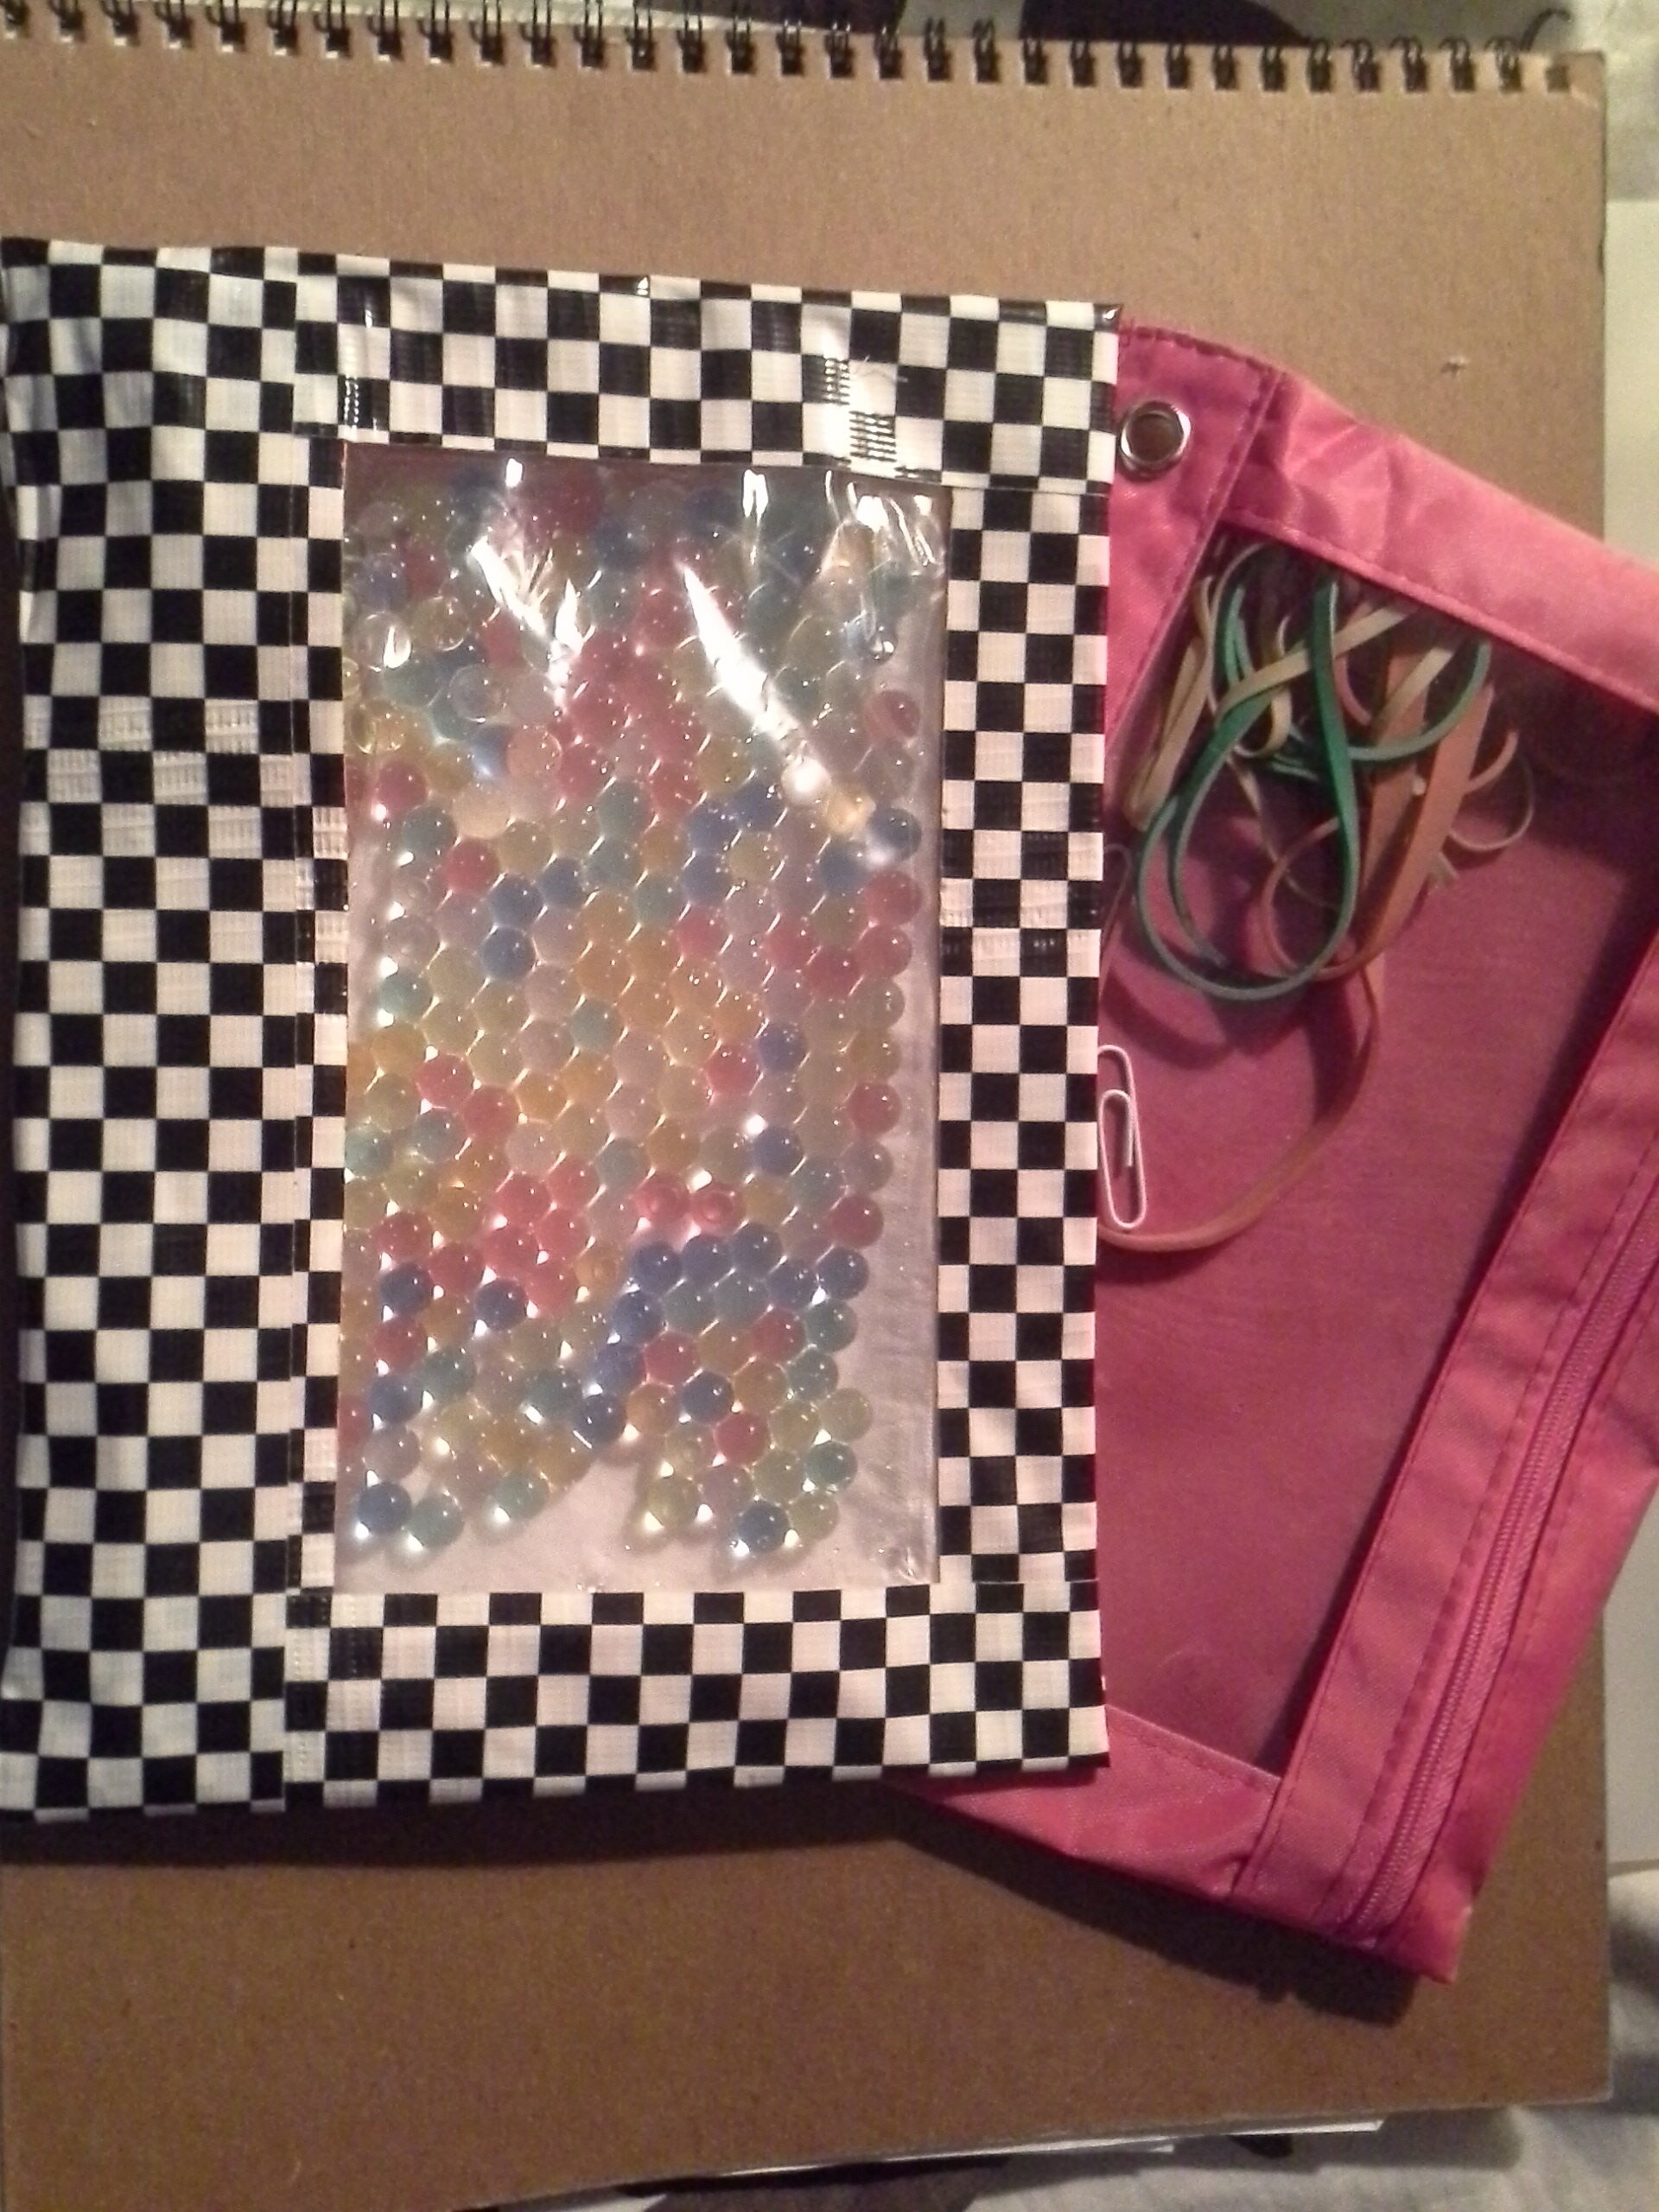
We made this water bead sensory bag out of a pencil case.
Don’t forget that you can easily make your own light box at home! https://tinkerlab.com/homemade-easy-low-cost-light-table/